
I started making them when my girls went down for their afternoon nap and by the time they woke up, they had such a fun surprise invitation-to-play waiting for them. They played on and off with these for the rest of the afternoon in 20-30 minute stretches. There was no mess, no stick, no tiny pieces of plastic-water-bead-explosion all over the floor…it was everything I was hoping for! Non-toxic sensory play, with amazing play-based Spanish learning that would be perfect for any Spanish preschool activity! If you are wanting some DIY sensory play ideas, don’t let this one pass you by!
Here is what you need to recreate this magic:
*Tapioca pearls
Water
Food coloring or liquid water colors
- First things first, put a pot of water on to boil. I’d say about 6 cups. Then take 2 cups of tapioca pearls and rinse them in cold water. You want to just rinse some of the starch off so you can rub them between your hands a little too.
- When your water is boiling add your water beads and turn the heat down to a low boil/bubble. Let them cook for 10-15 minutes (check them at 10). Here is how to tell when they are ready- take one out CAREFULLY and pinch it. You shouldn’t feel a hard little ball in the middle, it should be squishy but not total mush. DO NOT cook them too long.
- After about 15 minutes (or whenever they have lost that hard ball feeling in the middle) drain and rinse them in cold water. Really rinse them, get all the heat out of them so you can handle them easily with your hands.
- Separate them out into little bowls and add a few drops of food coloring. Then add water so that they are submerged and give each bowl and color a stir. Let them sit for 10-20 minutes so they can absorb the color. Add more water if they absorb it all while they are sitting in the color.
- Then drain and rinse with cold water until it runs clear. The color should stay pretty well in the tapioca! I only did 4-5 drops of food coloring for each color and ended up with such pretty pastels but you could add a lot for vibrant colors (just test for staining and rinse super well).
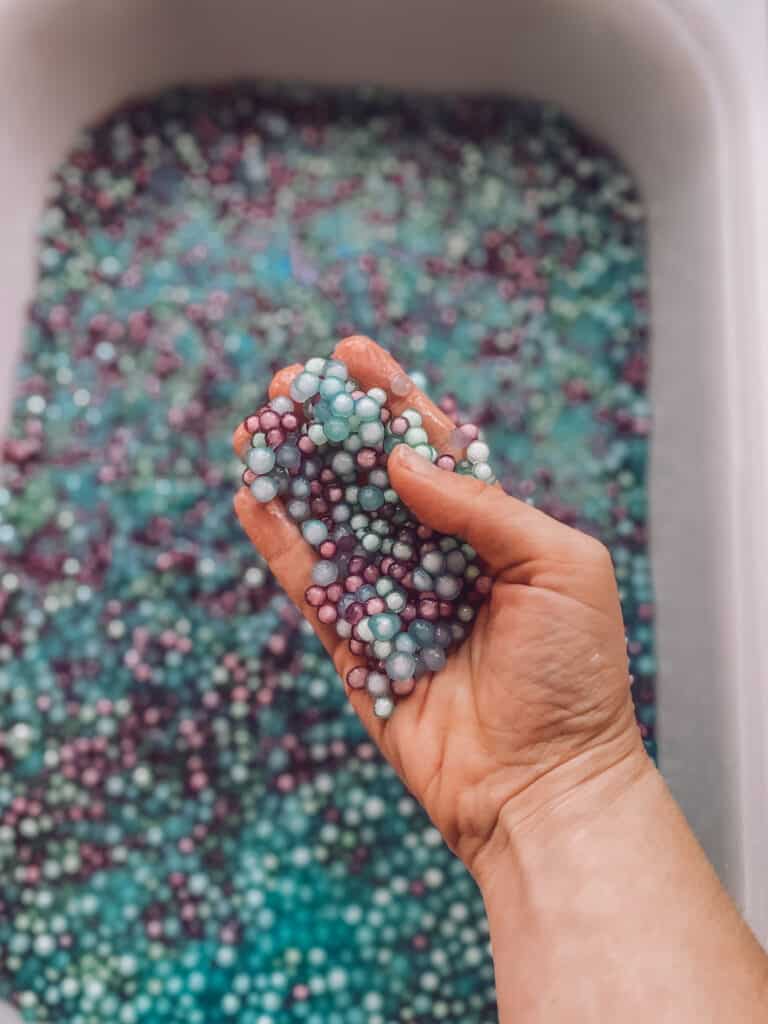
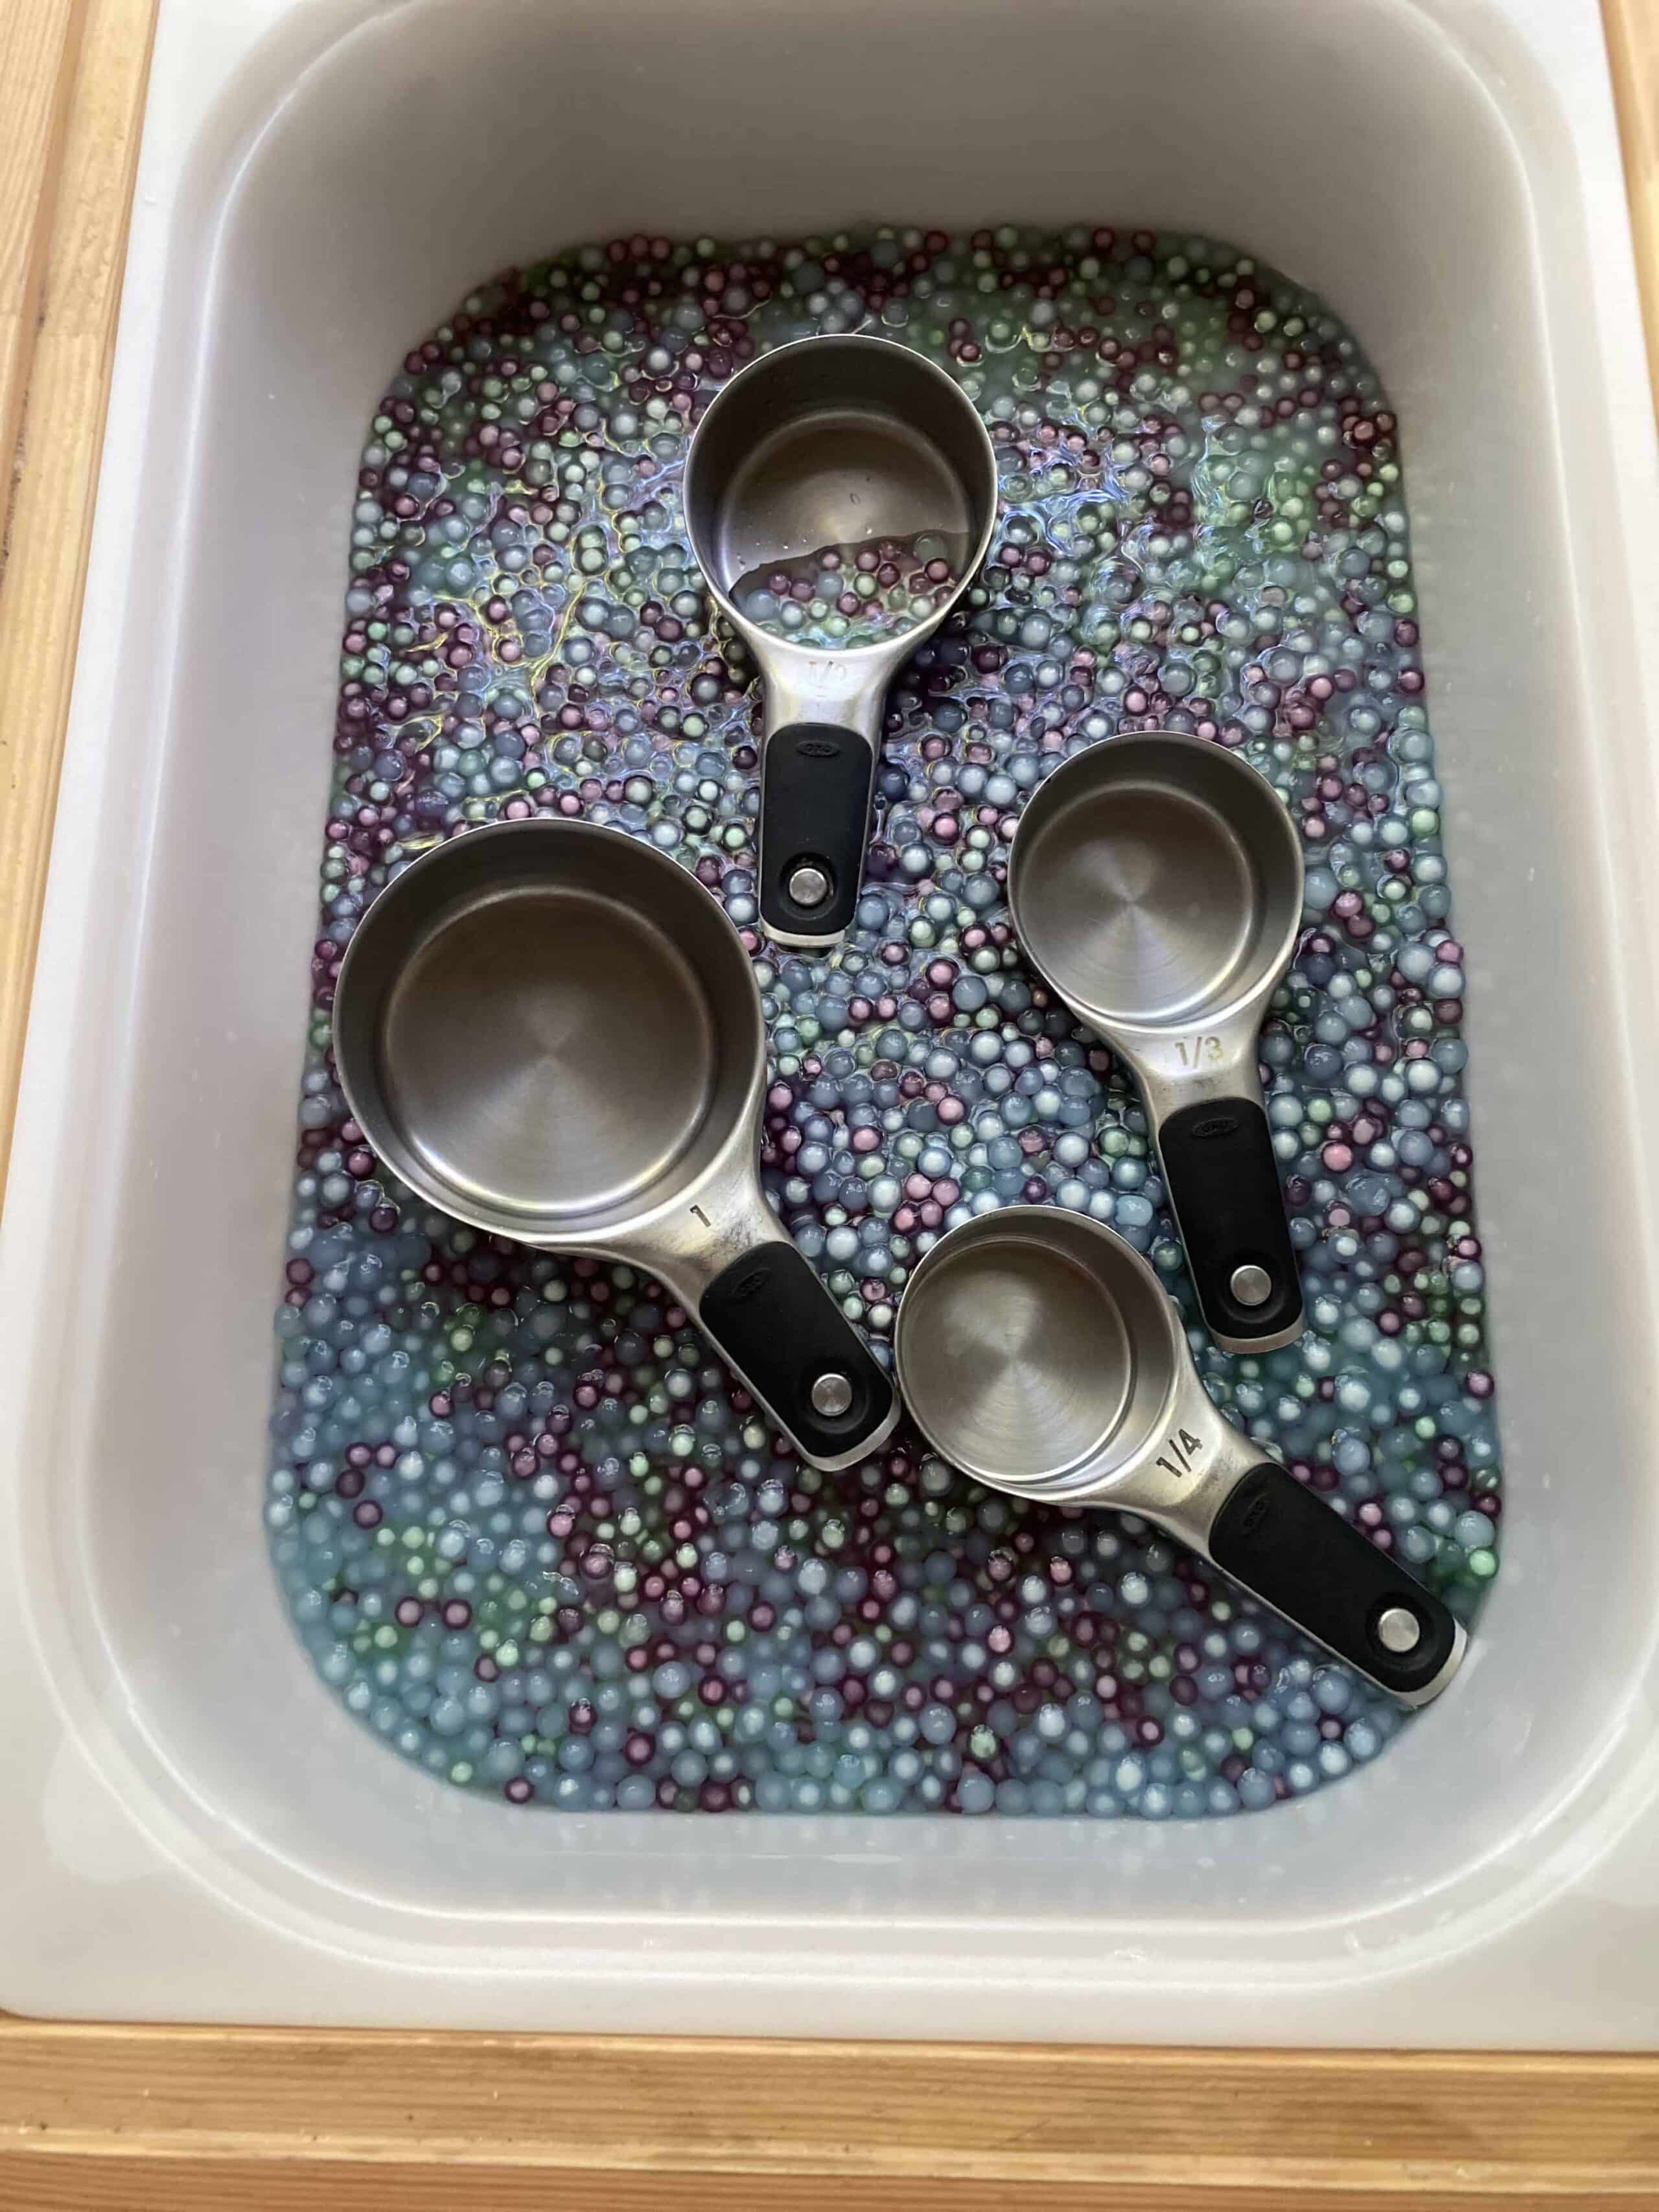
- Add your tapioca pearls, all beautifully colored, into a bin and then add some water. The water keeps them from being a sticky mess (this is my tea house trick and is how boba is stored before it goes into tea!) and recreates that water bead texture. We actually added about 2-3″ of water and it was SO much fun for pouring and sensory play. Because we added water to keep them from being sticky, the colors faded slowly after a few hours but still maintained this really pretty pastel color to them. I drained them and put them in a tupperware to keep in the fridge for a few days to use again and again- I’ll just add fresh water. I will probably freeze them too as one last celebratory play!
Seriously y’all. These are AMAZING. The perfect taste safe, non-toxic water beads! Perfect for even the little little ones. Just make sure they have adult supervision just incase they decide to eat it, these could be a choking hazard.
The best part about this DIY sensory experience? It can become an amazing opportunity for hands-on Spanish learning. I am not a fan of learning with worksheets or grammar books, instead I want to immerse my children in intentional Spanish play to help them learn the language. By bringing Spanish into your sensory play, you are helping them connect words with real life experiences and that, my friends, is the best way to learn a language!
How do you turn this DIY sensory bin activity into an interactive Spanish lesson? Here are some of the Spanish words we used while we played:
La tapioca (tah-pyoh-kah) – tapioca
Blando (blahn-doh) – soft/squishy
Mojado (moh-hah-doh) – wet
Verter (behr-tehr) – to pour
Apretar (ah-preh-tahr) – to squeeze
I hope you love it as much as I do! Don’t forget to tag @ninos.and.nature if you give it a try!
