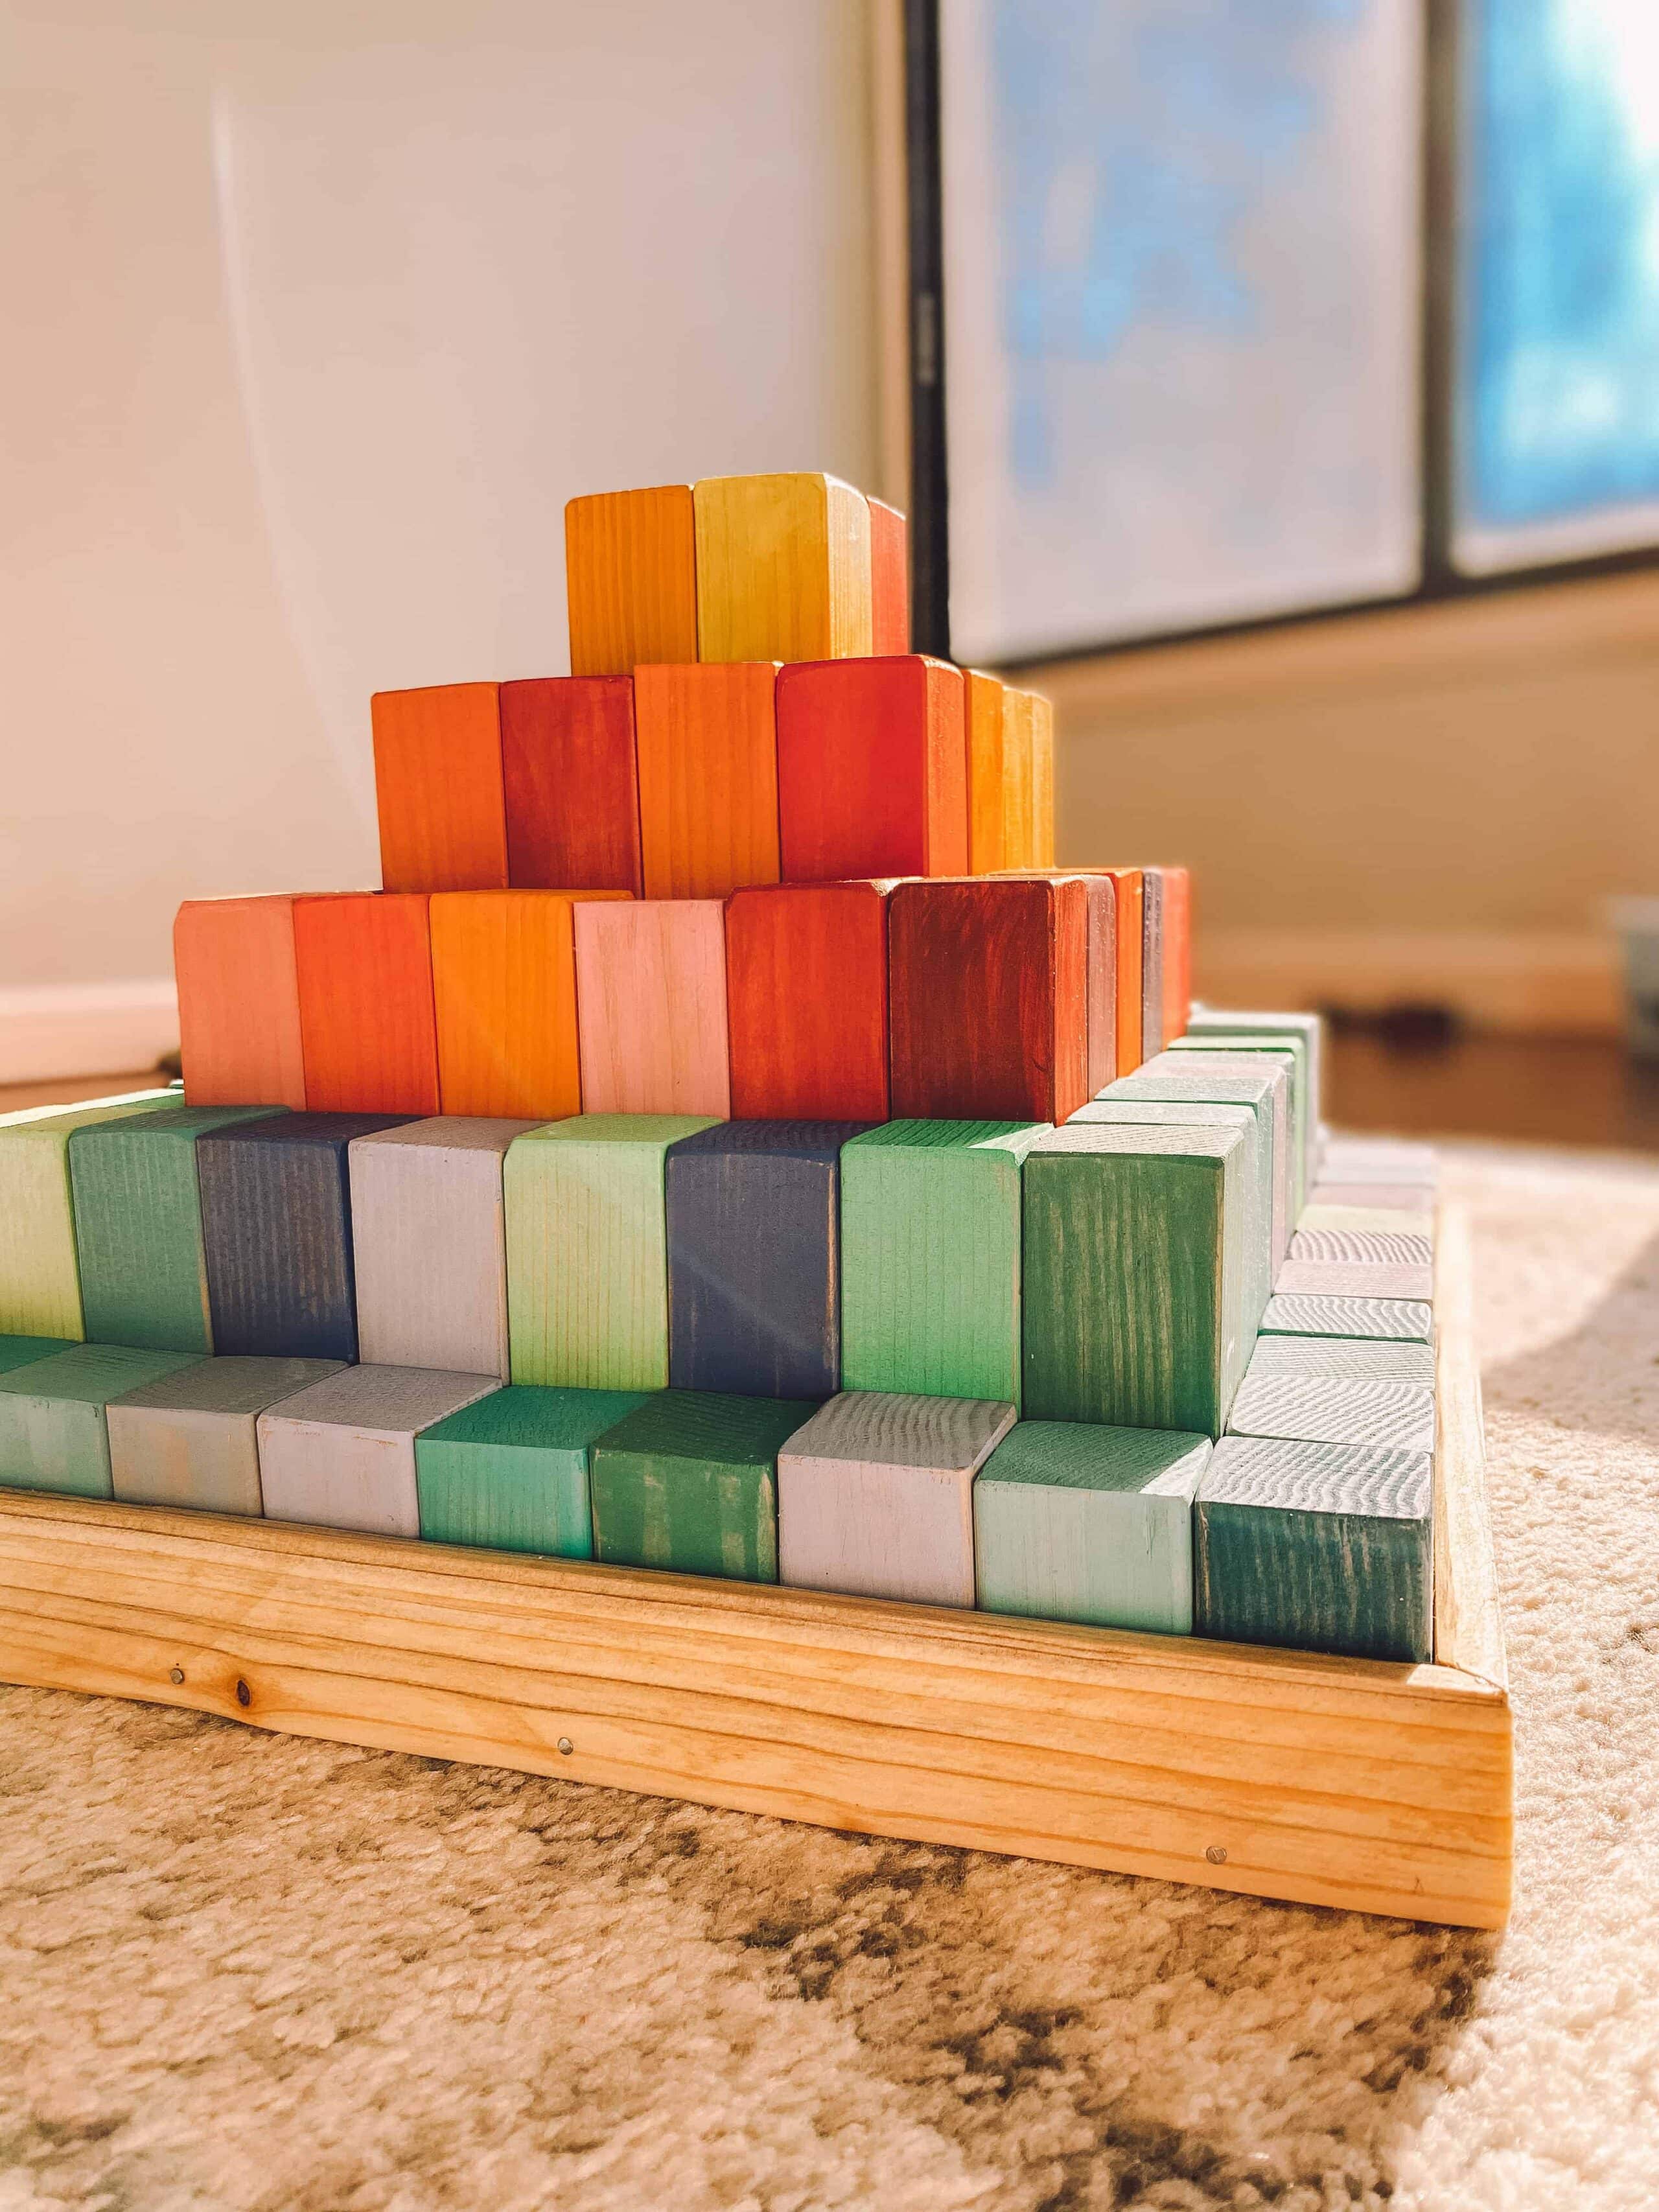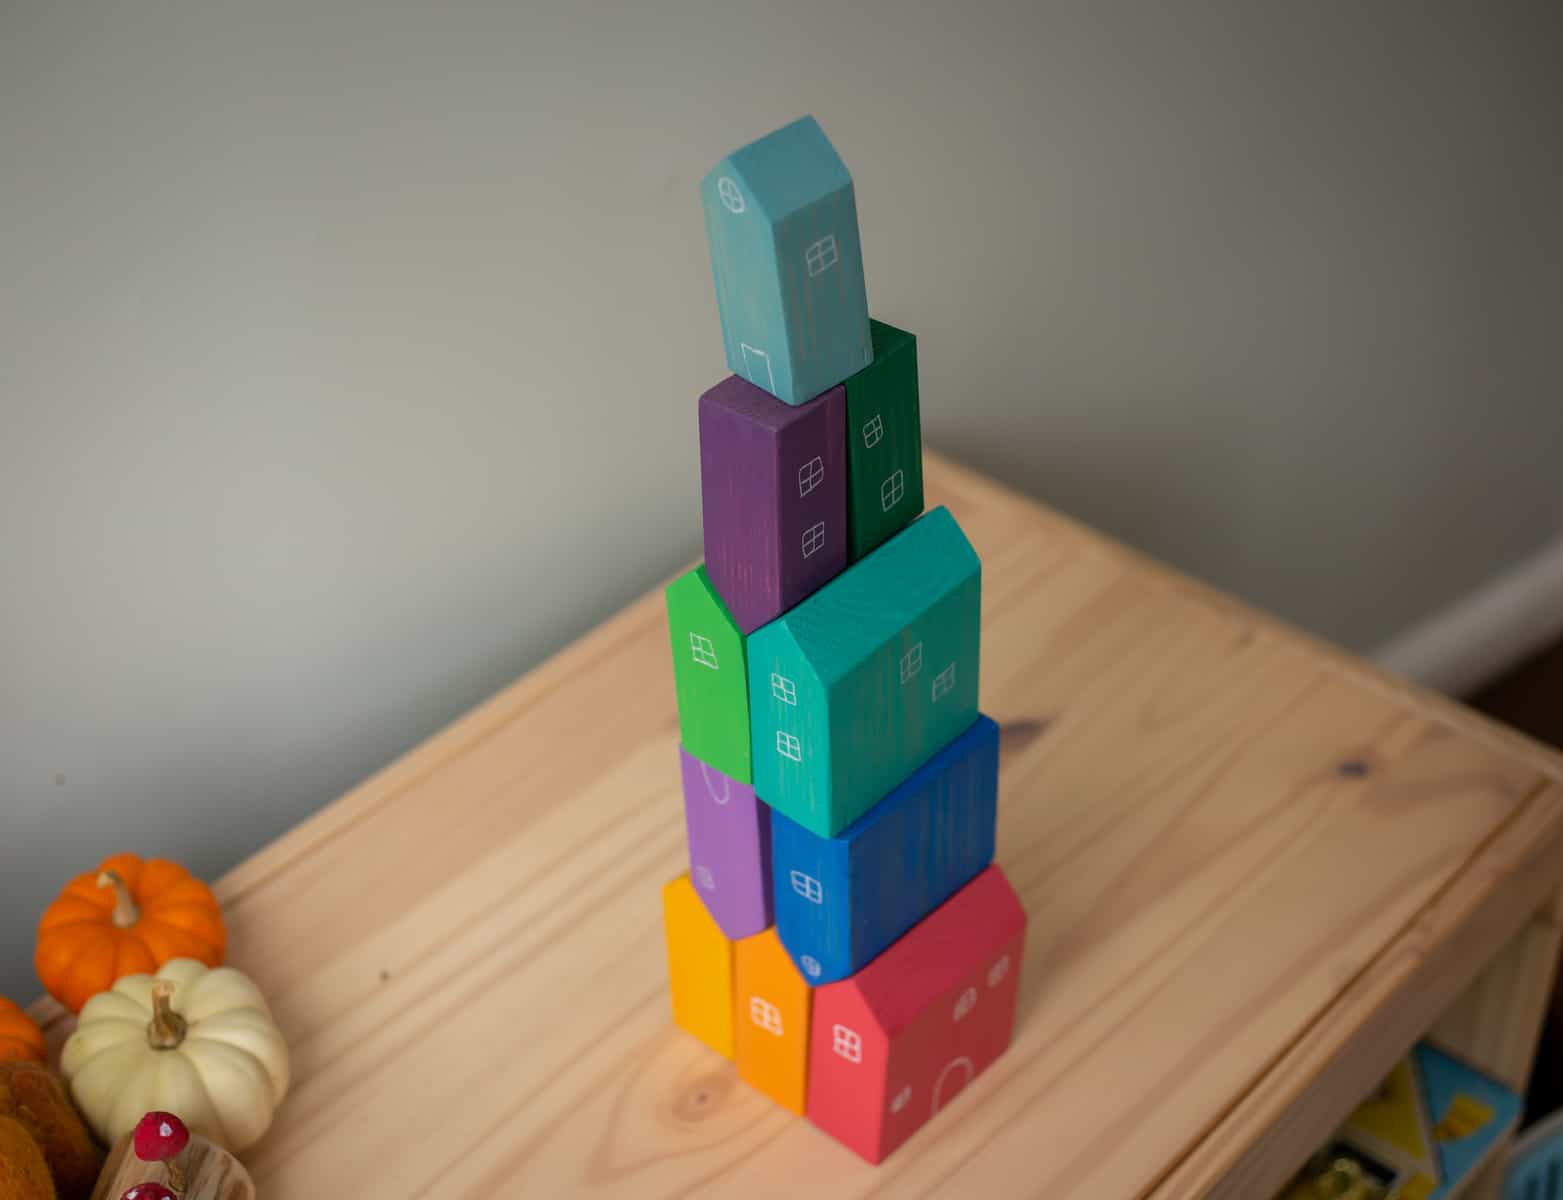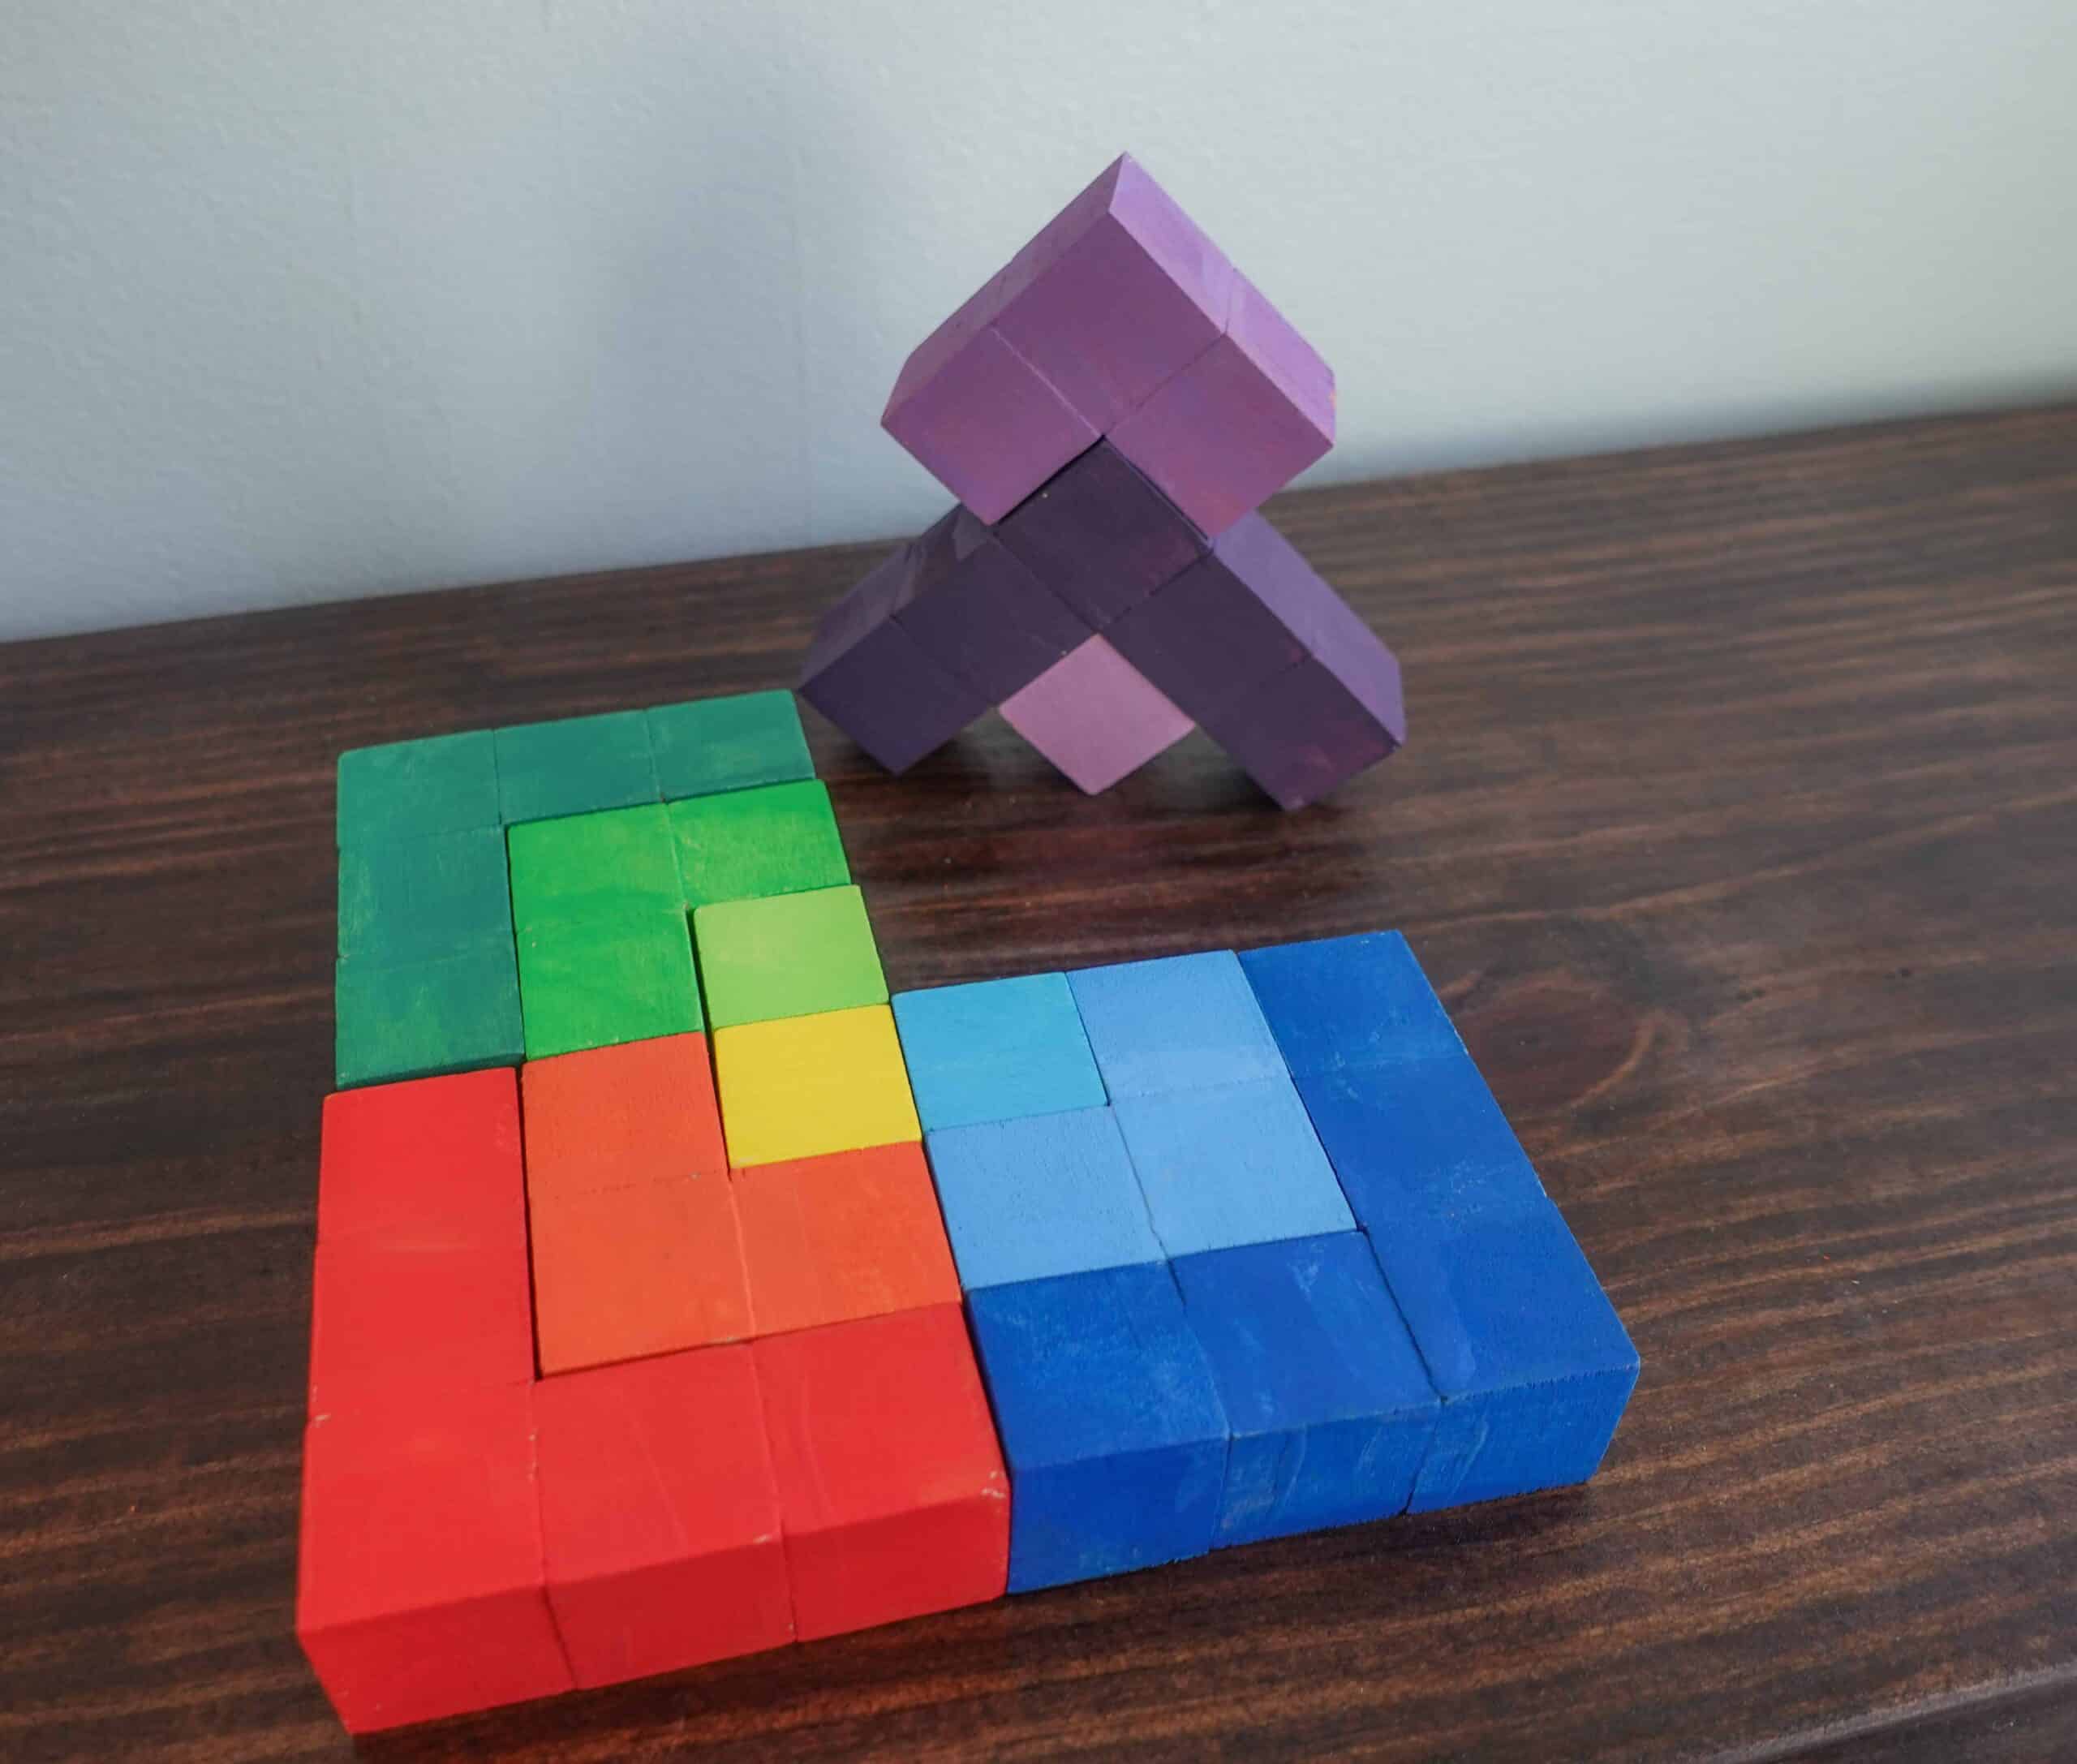
These are completely inspired by Grimm’s Square Puzzle Blocks that allow children to explore 3D structures, explore 2D patterns and use them for any imaginary play they can think up! When I first saw these, you know what I thought…hey, I could make that! They come together quickly and are a perfect weekend or after-bedtime project.
It is snowing with lots of freezing rain and I am wishing, now more than ever, that I had a cozy little wood shop to get some more projects done. Alas, I am confined to my kitchen table and my snowy back porch when I’m feeling brave. The good news is that this sweet little puzzle can be made easily and no wood shop is needed!
My favorite part? They bring in such amazing opportunities for hands-on Spanish learning with your littles. Whether you are learning about Spanish colors, shapes, or just using your imagination these for imaginary play – these are DIY puzzle blocks are amazing to have on hand!
To make these you need:
When you buy the wooden blocks, they should already be nice and smooth but you may need to do a little sanding.
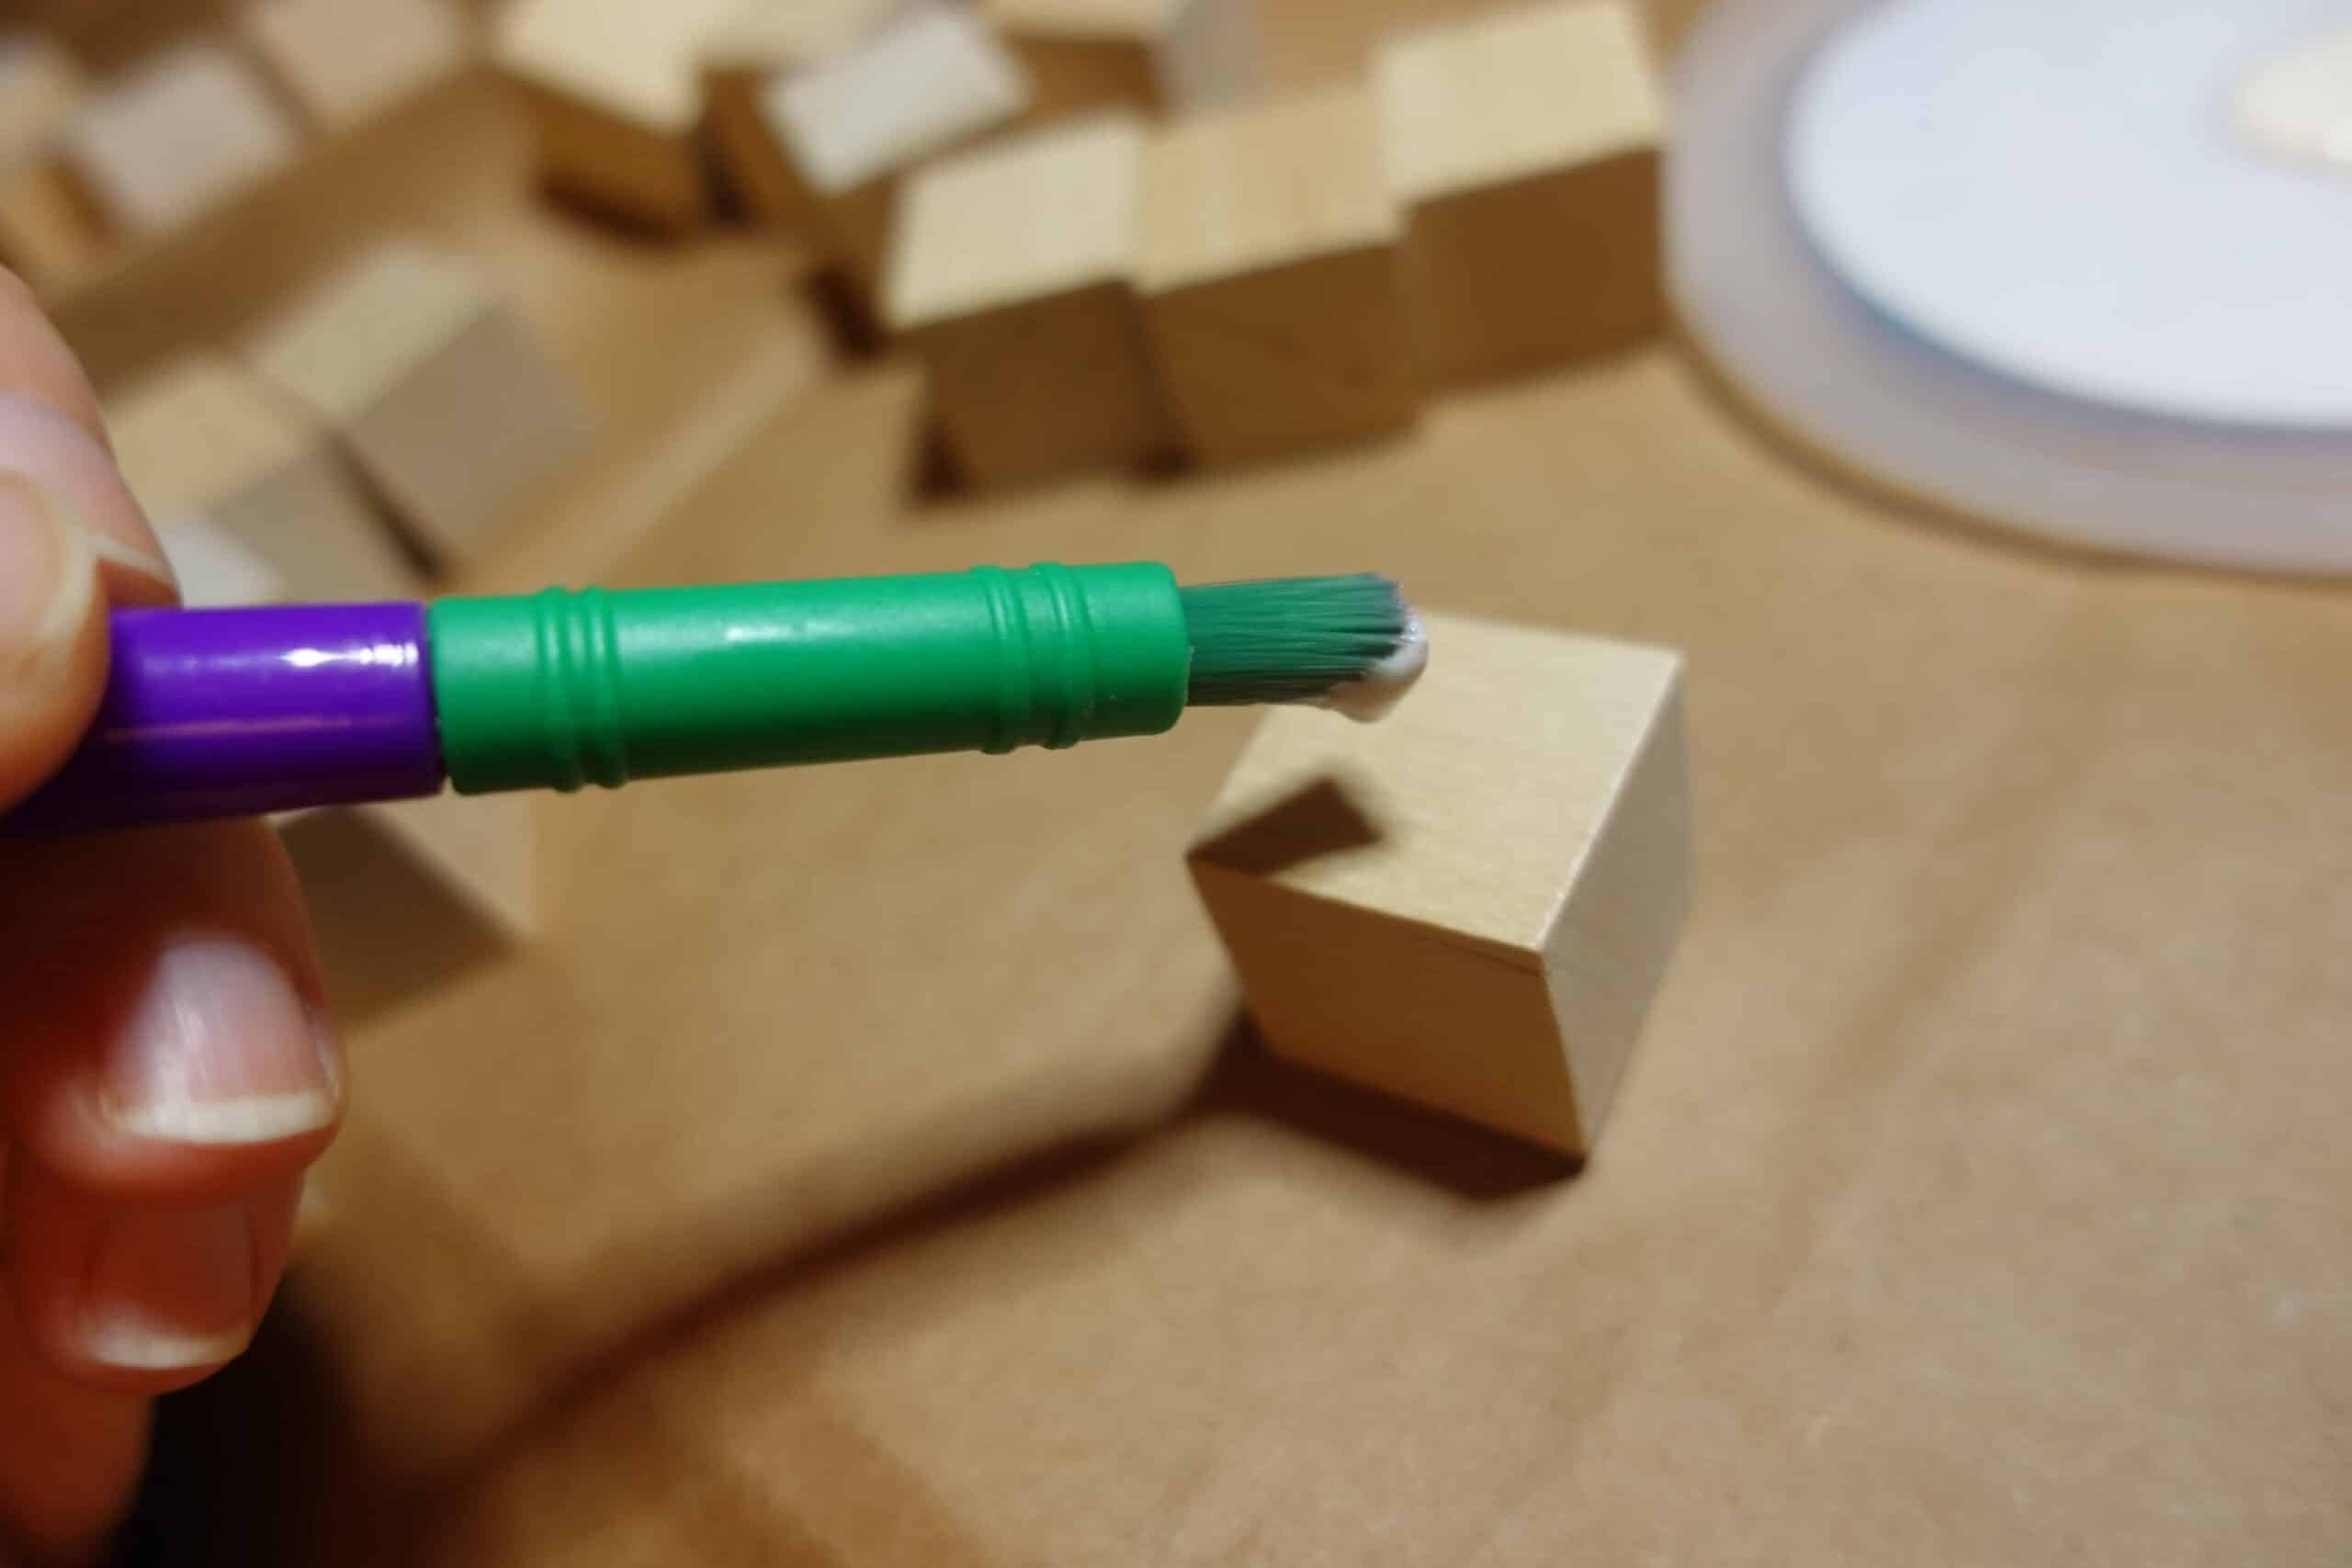
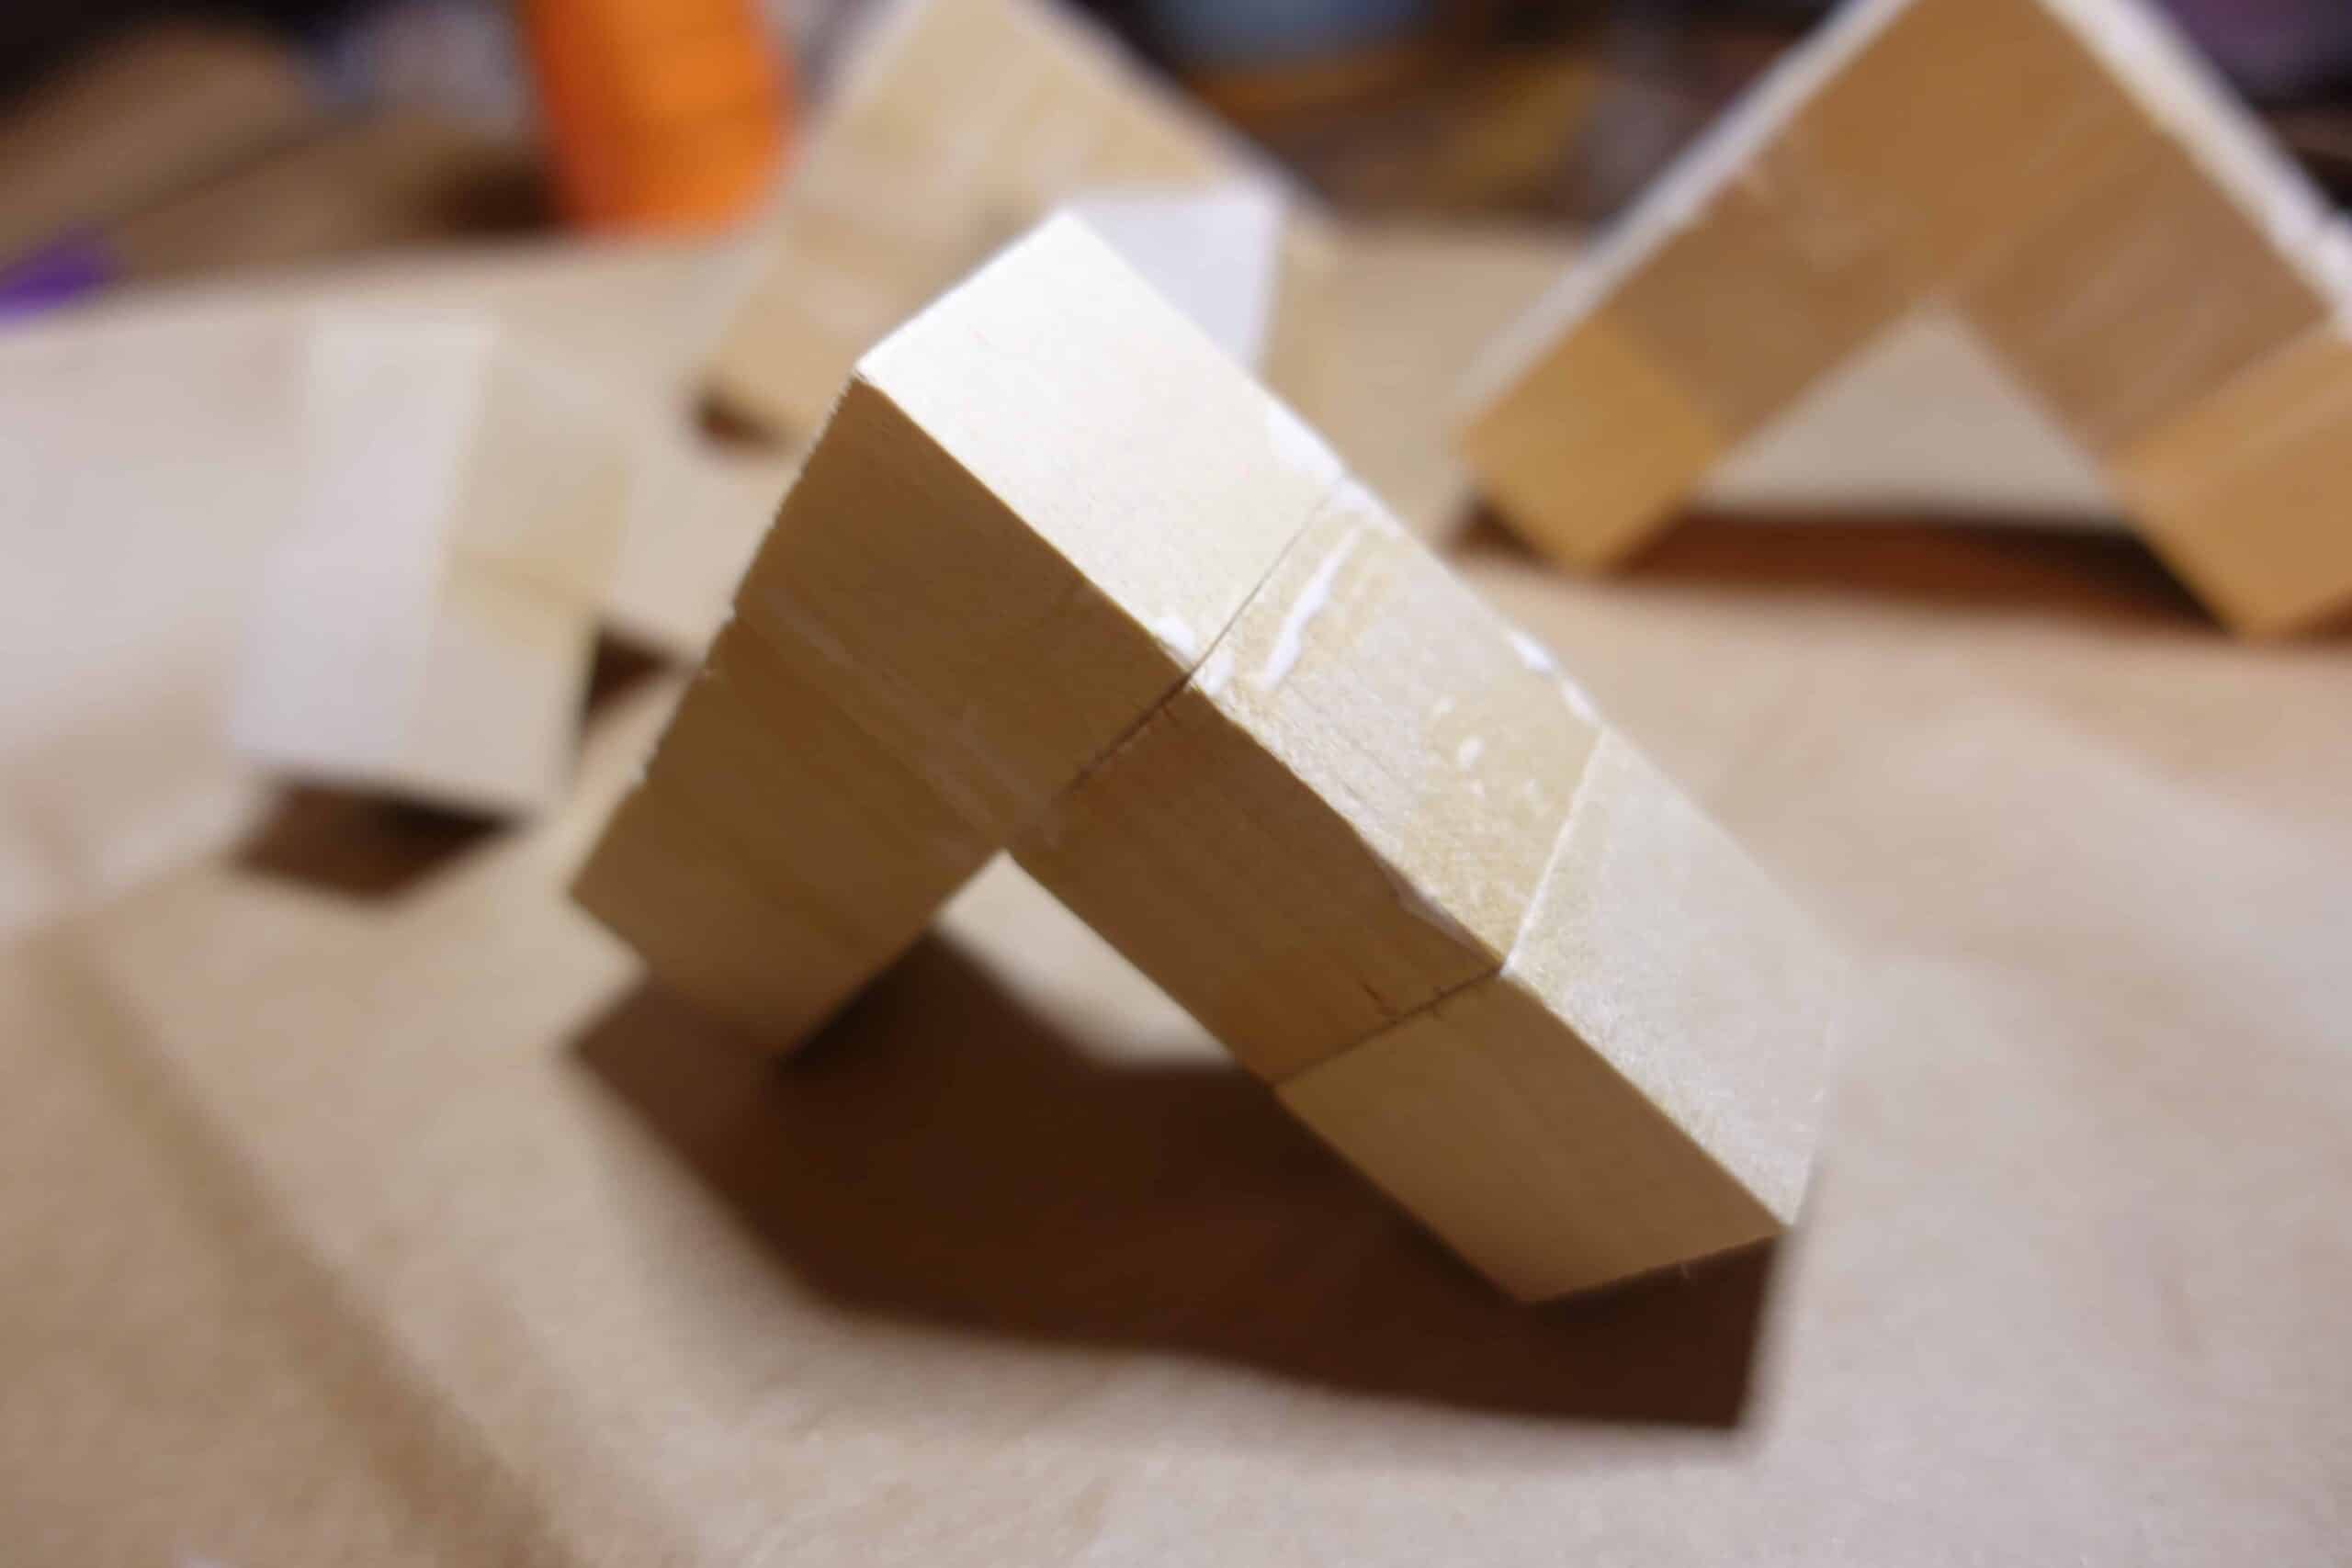
To get started, you want to plan out and glue your blocks together. 4 blocks will just be single, then you will have four sets of three and then four sets of five.
First use a thin amount of wood glue to glue your blocks together. Wipe away any excess and make sure all the edges line up. Let dry for an hour or so.
Once it’s dry and holds together, I use a little wood glue to seal the cracks as best I can. Using a small, stiff paintbrush, a chopstick, a q-tip, a popsicle stick…anything will work, slowly apply the mixture to all the cracks and press it into the crevice all around the spaces where the blocks come together. You will be sanding this all once it’s dry so it doesn’t need to be perfect but try not to leave big clumps, smooth it out as much as you can.
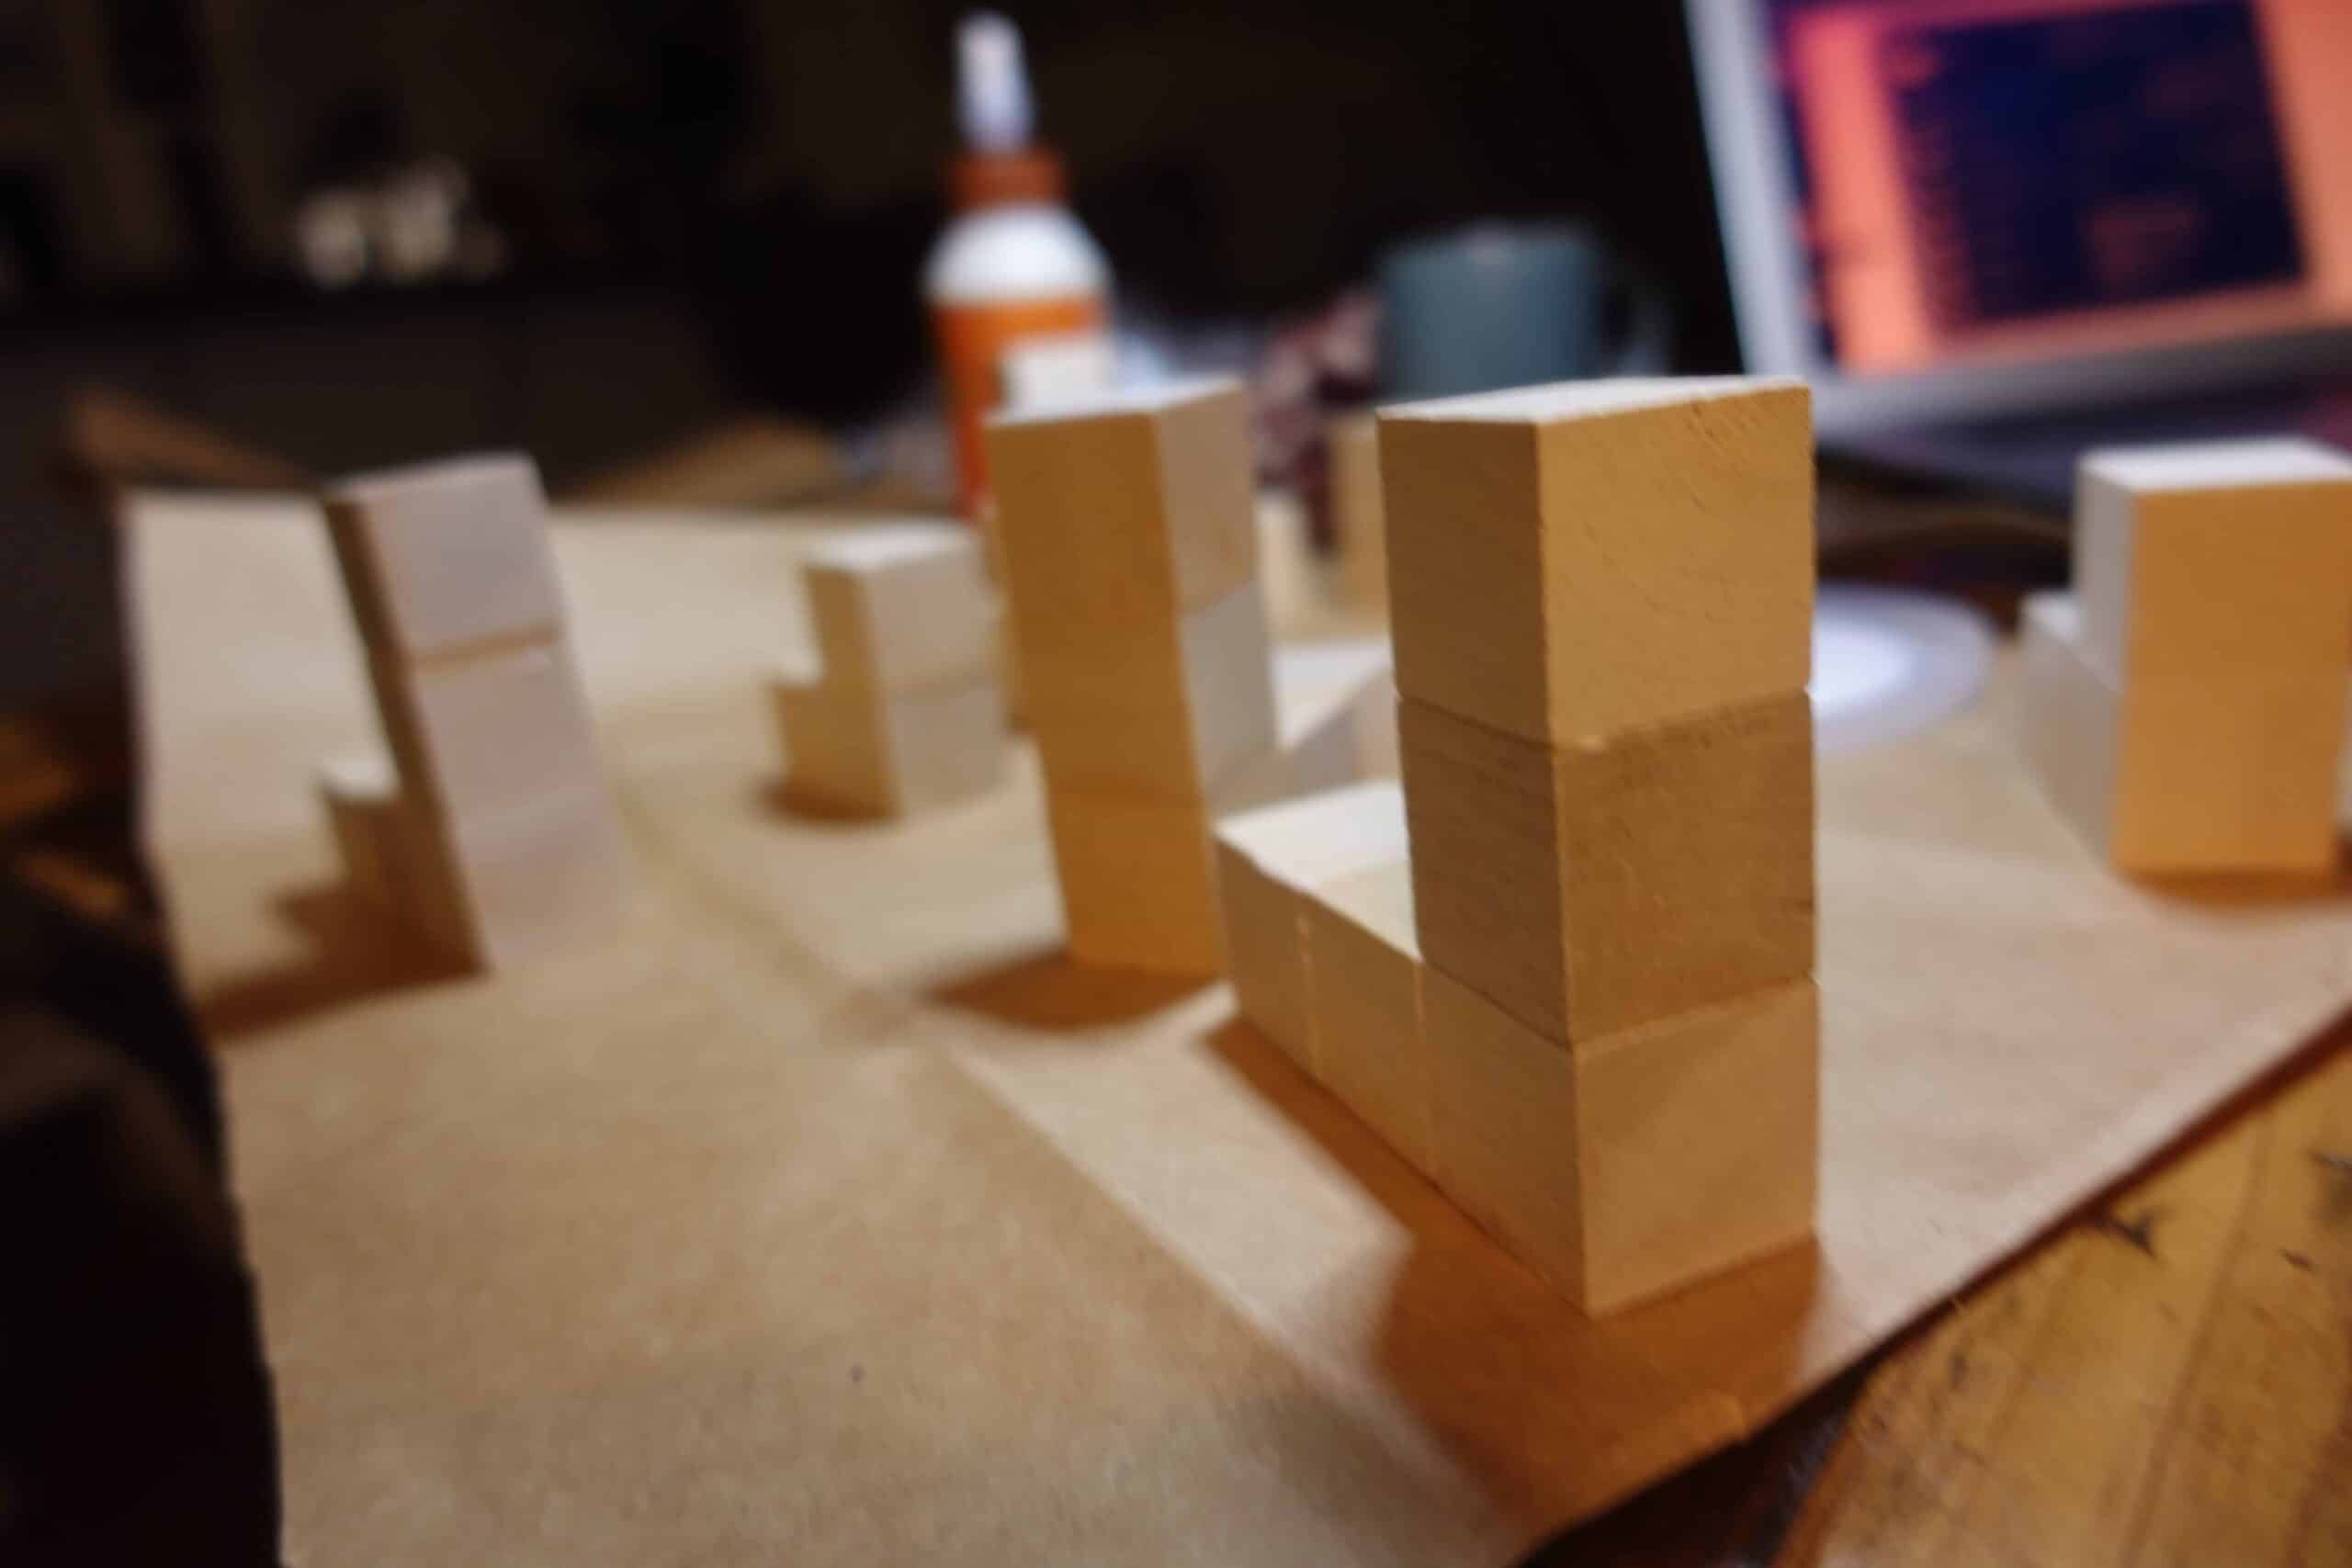
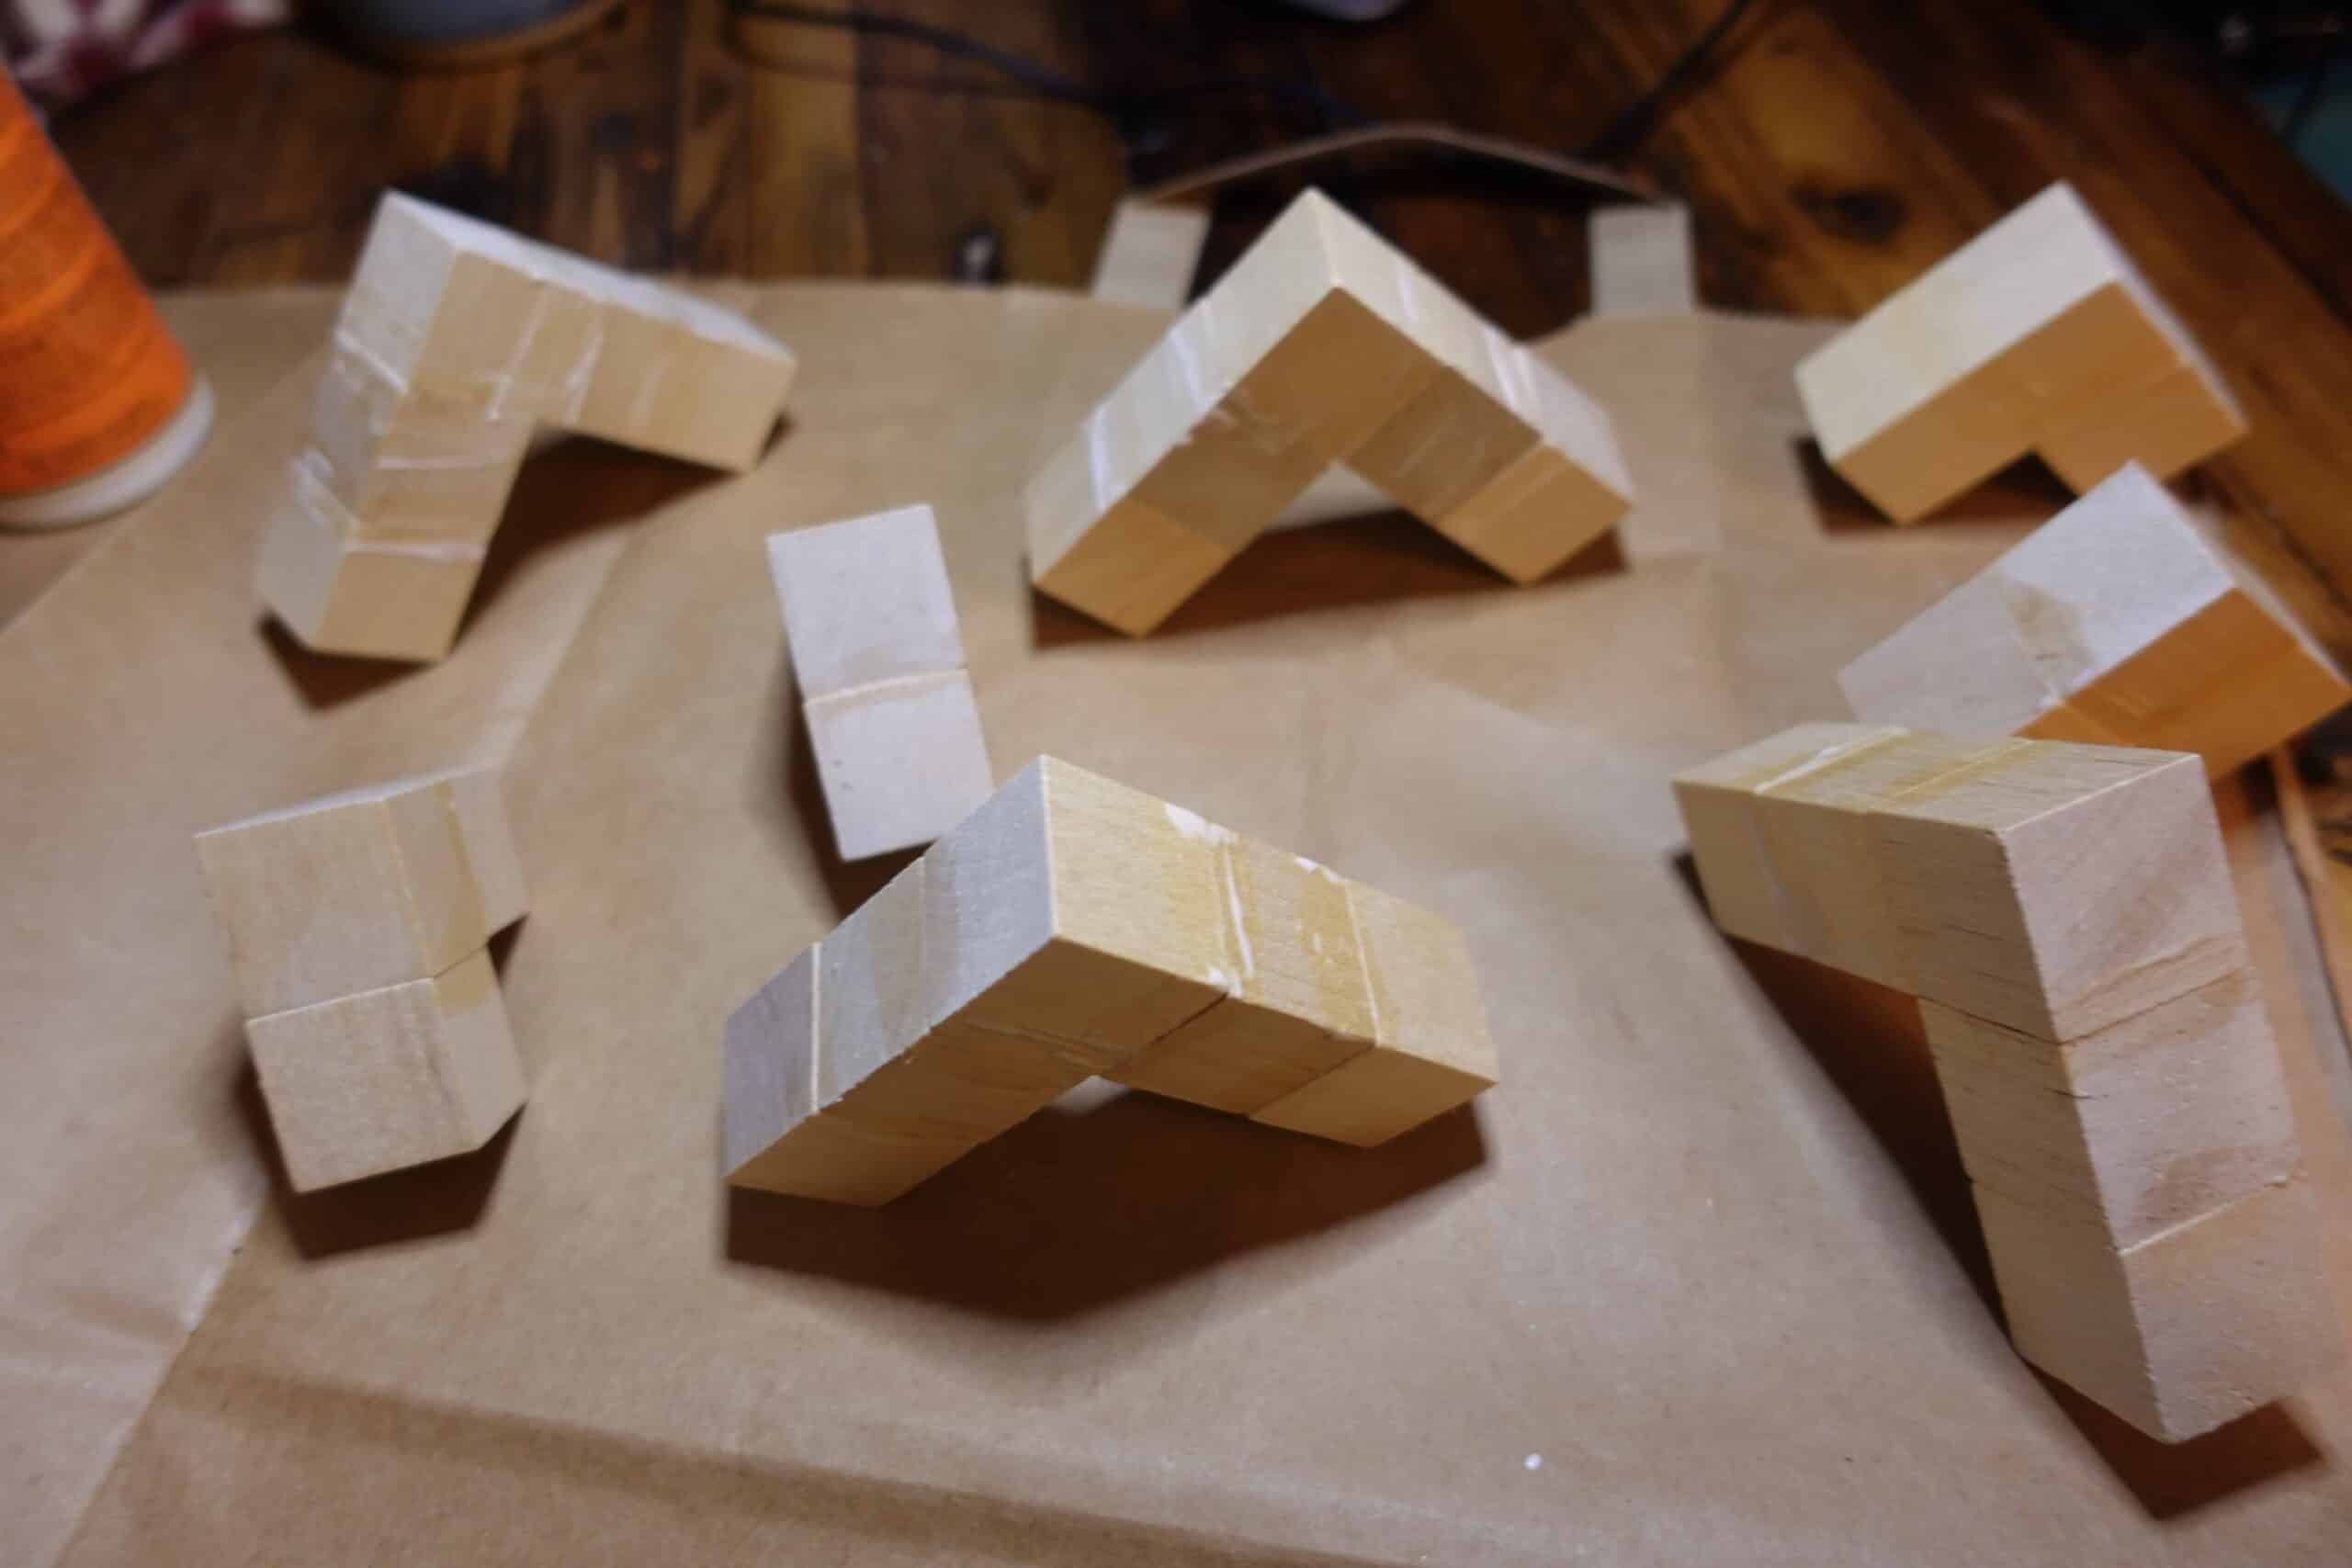
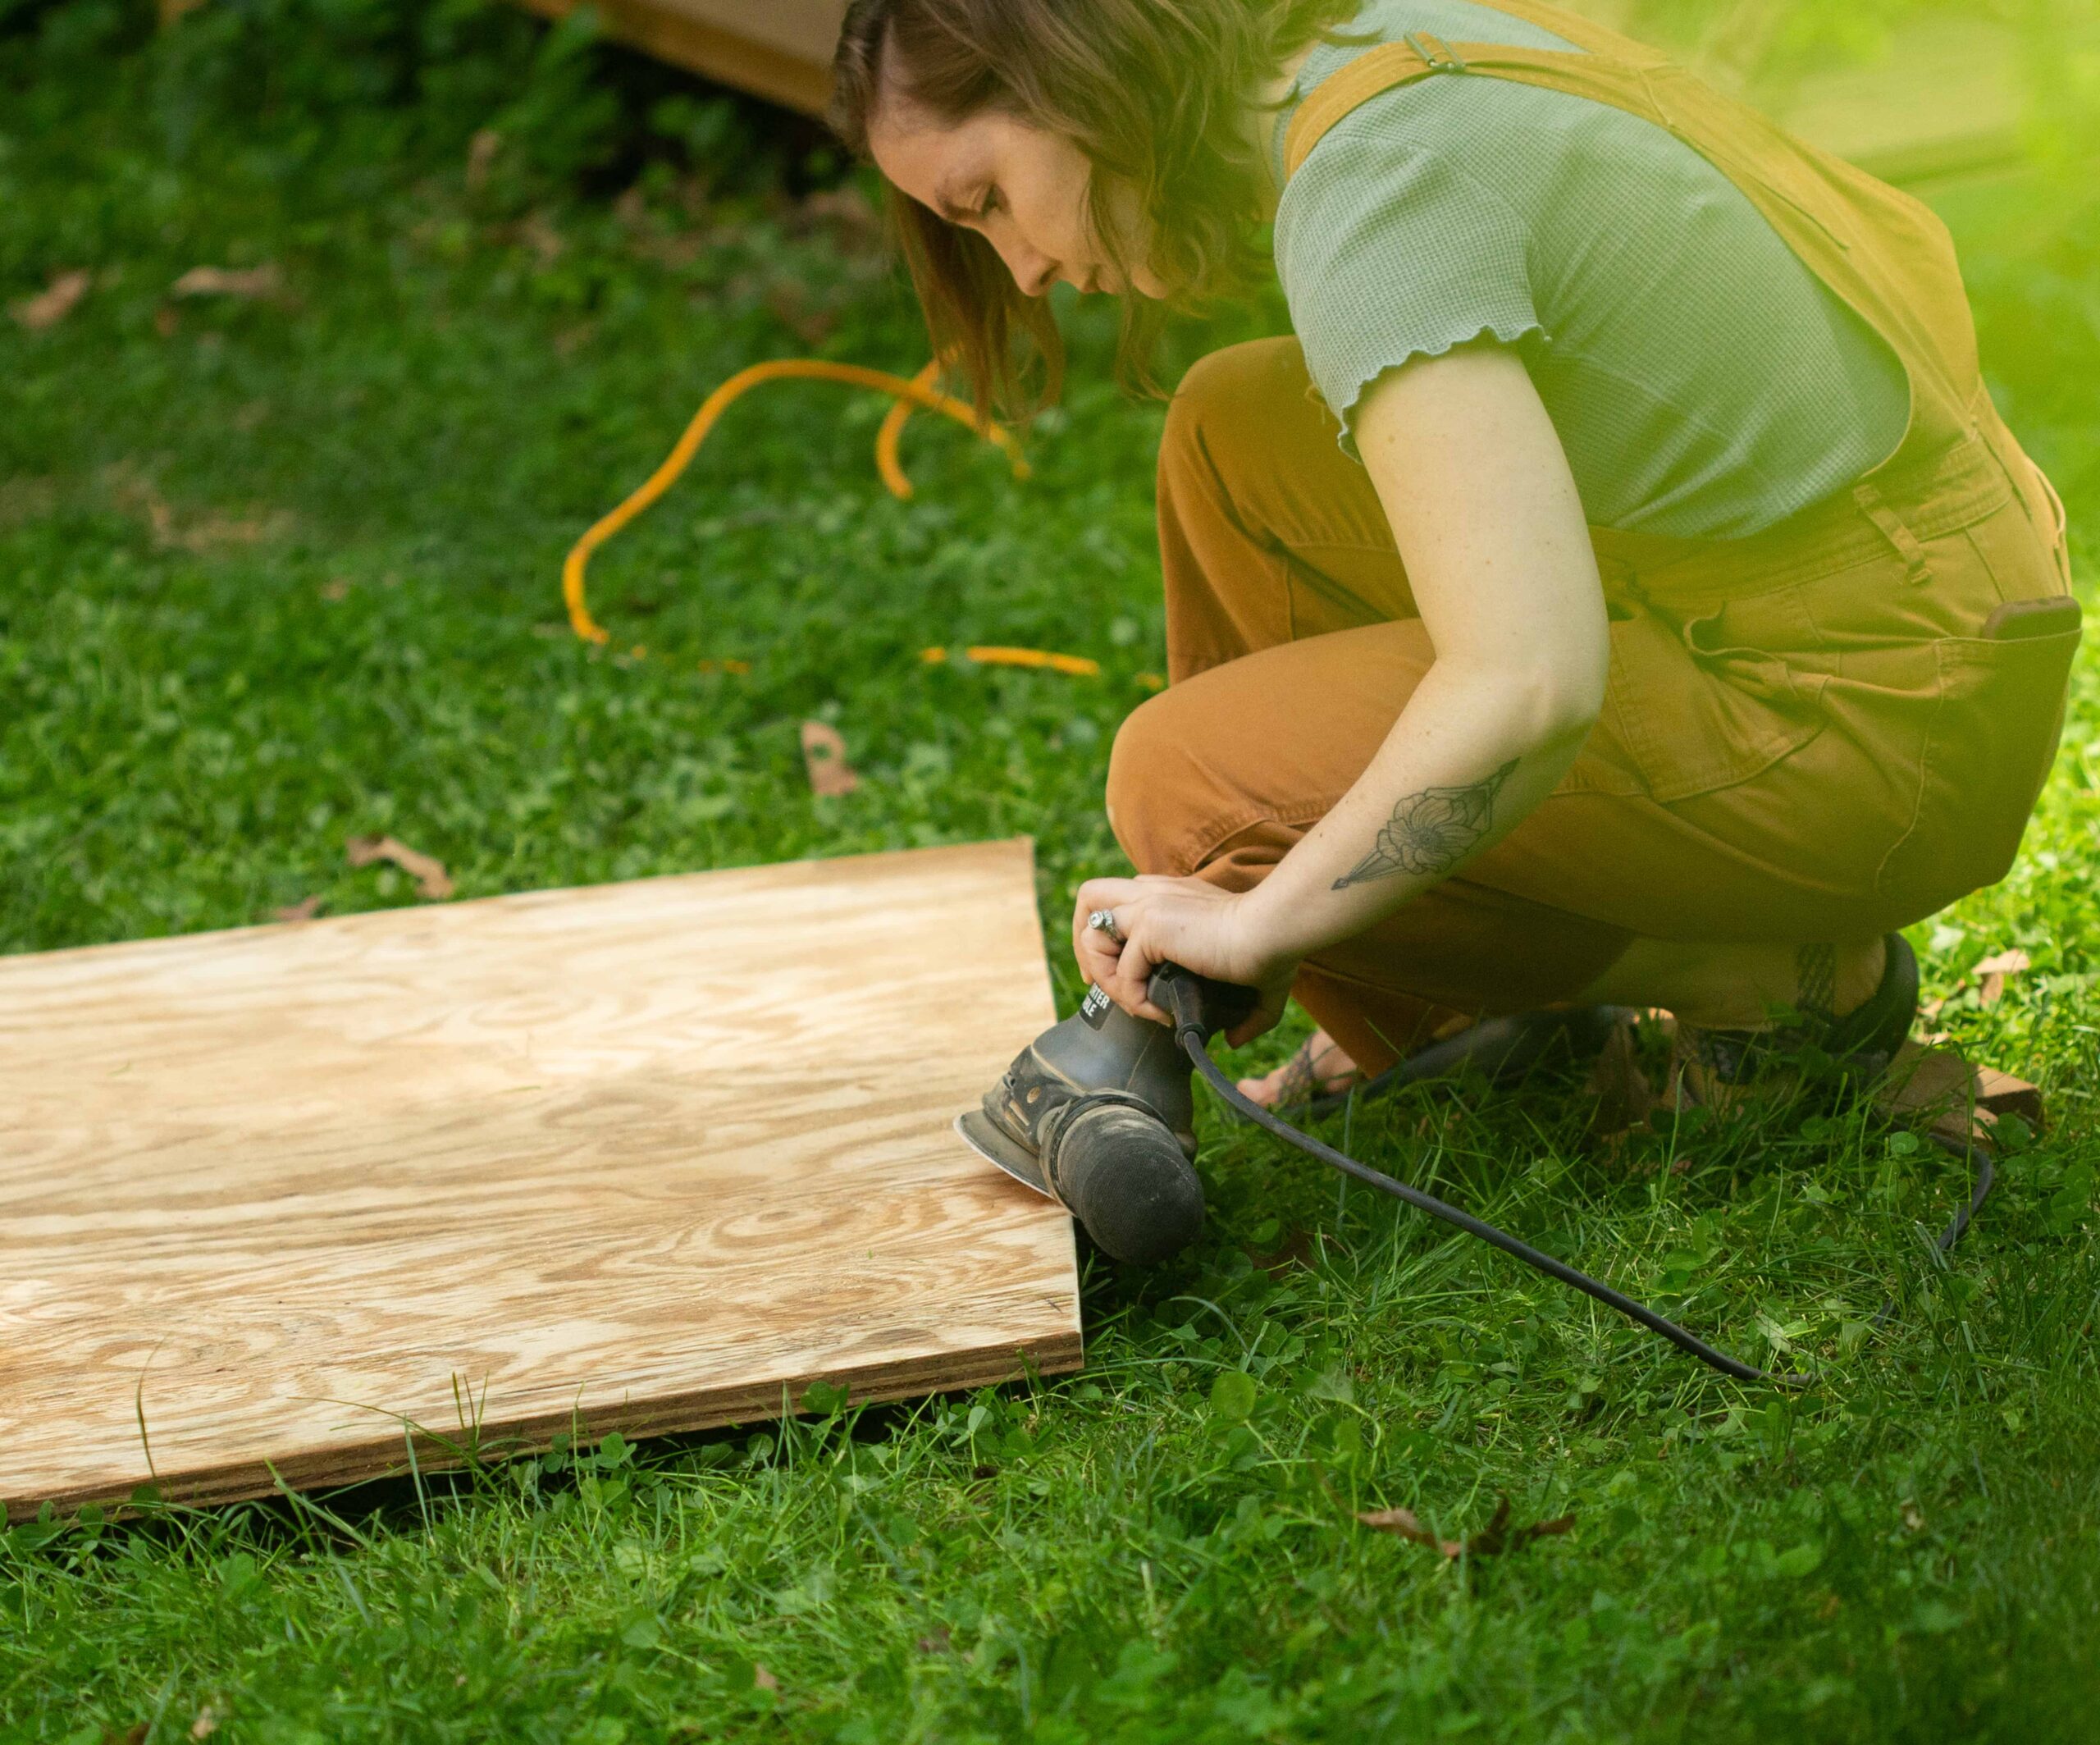
Once it’s dry, sand all the sides to smooth out the whole puzzle piece. It should look pretty good and cohesive, don’t worry if you can still see the cracks, you will be painting them anyway and it doesn’t need to be perfect! To sand them I recommend using (or getting) an electric sander, they are SO handy and make this a super quick task. If you don’t have a sander just grab a piece of sandpaper and that will work too. You are really just trying to sand away any wood glue left behind and smooth it all out.
Then, wipe away any saw dust and get ready to paint. My favorite method is painting acrylic paint directly onto the blocks and then using a paper towel to wipe it away slightly so you can see the wood grain. There may be spots where you see the lines from where the blocks came together but that is okay! If you want brighter colors you don’t need to wipe off the paint, I actually only wiped a few colors as I painted and left most of them nice and bright.
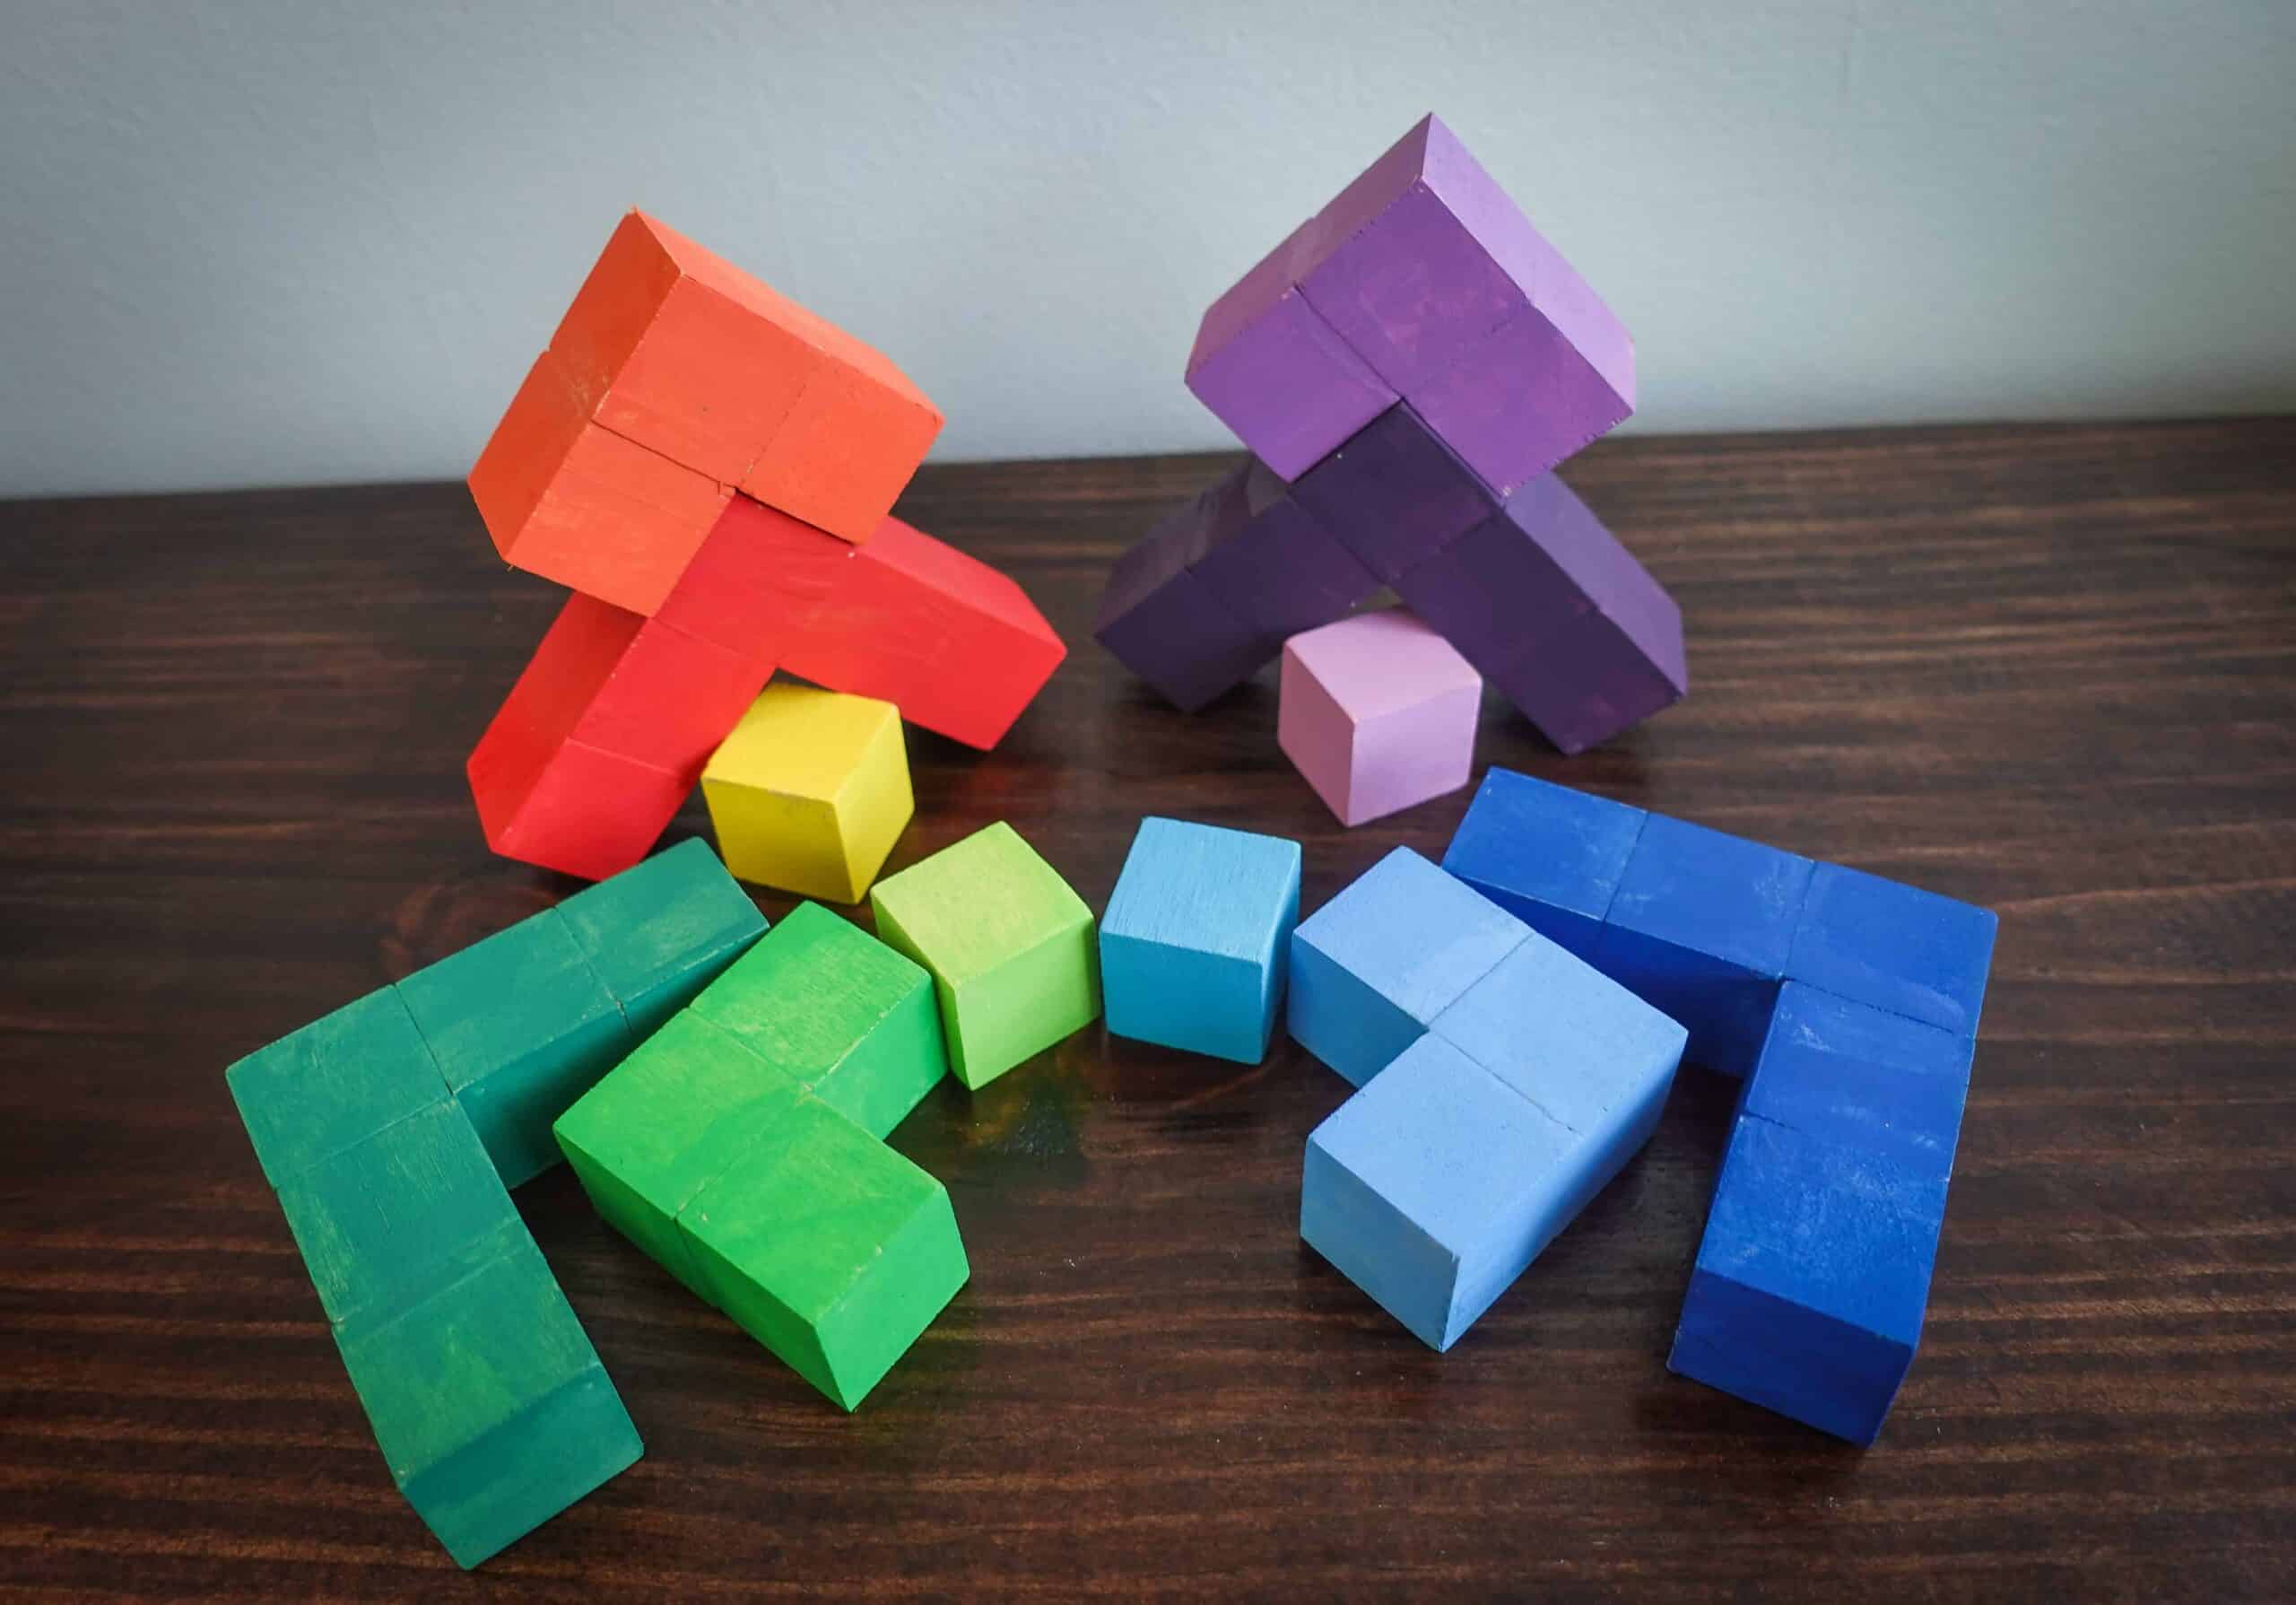
I love DIY projects because you can make this something that YOUR children will love. Use their favorite color combinations and make it special just for them.
Once the paint is dry, apply a thin coat to seal and finish your puzzle pieces. Let dry for a full 24-48 hours before play!
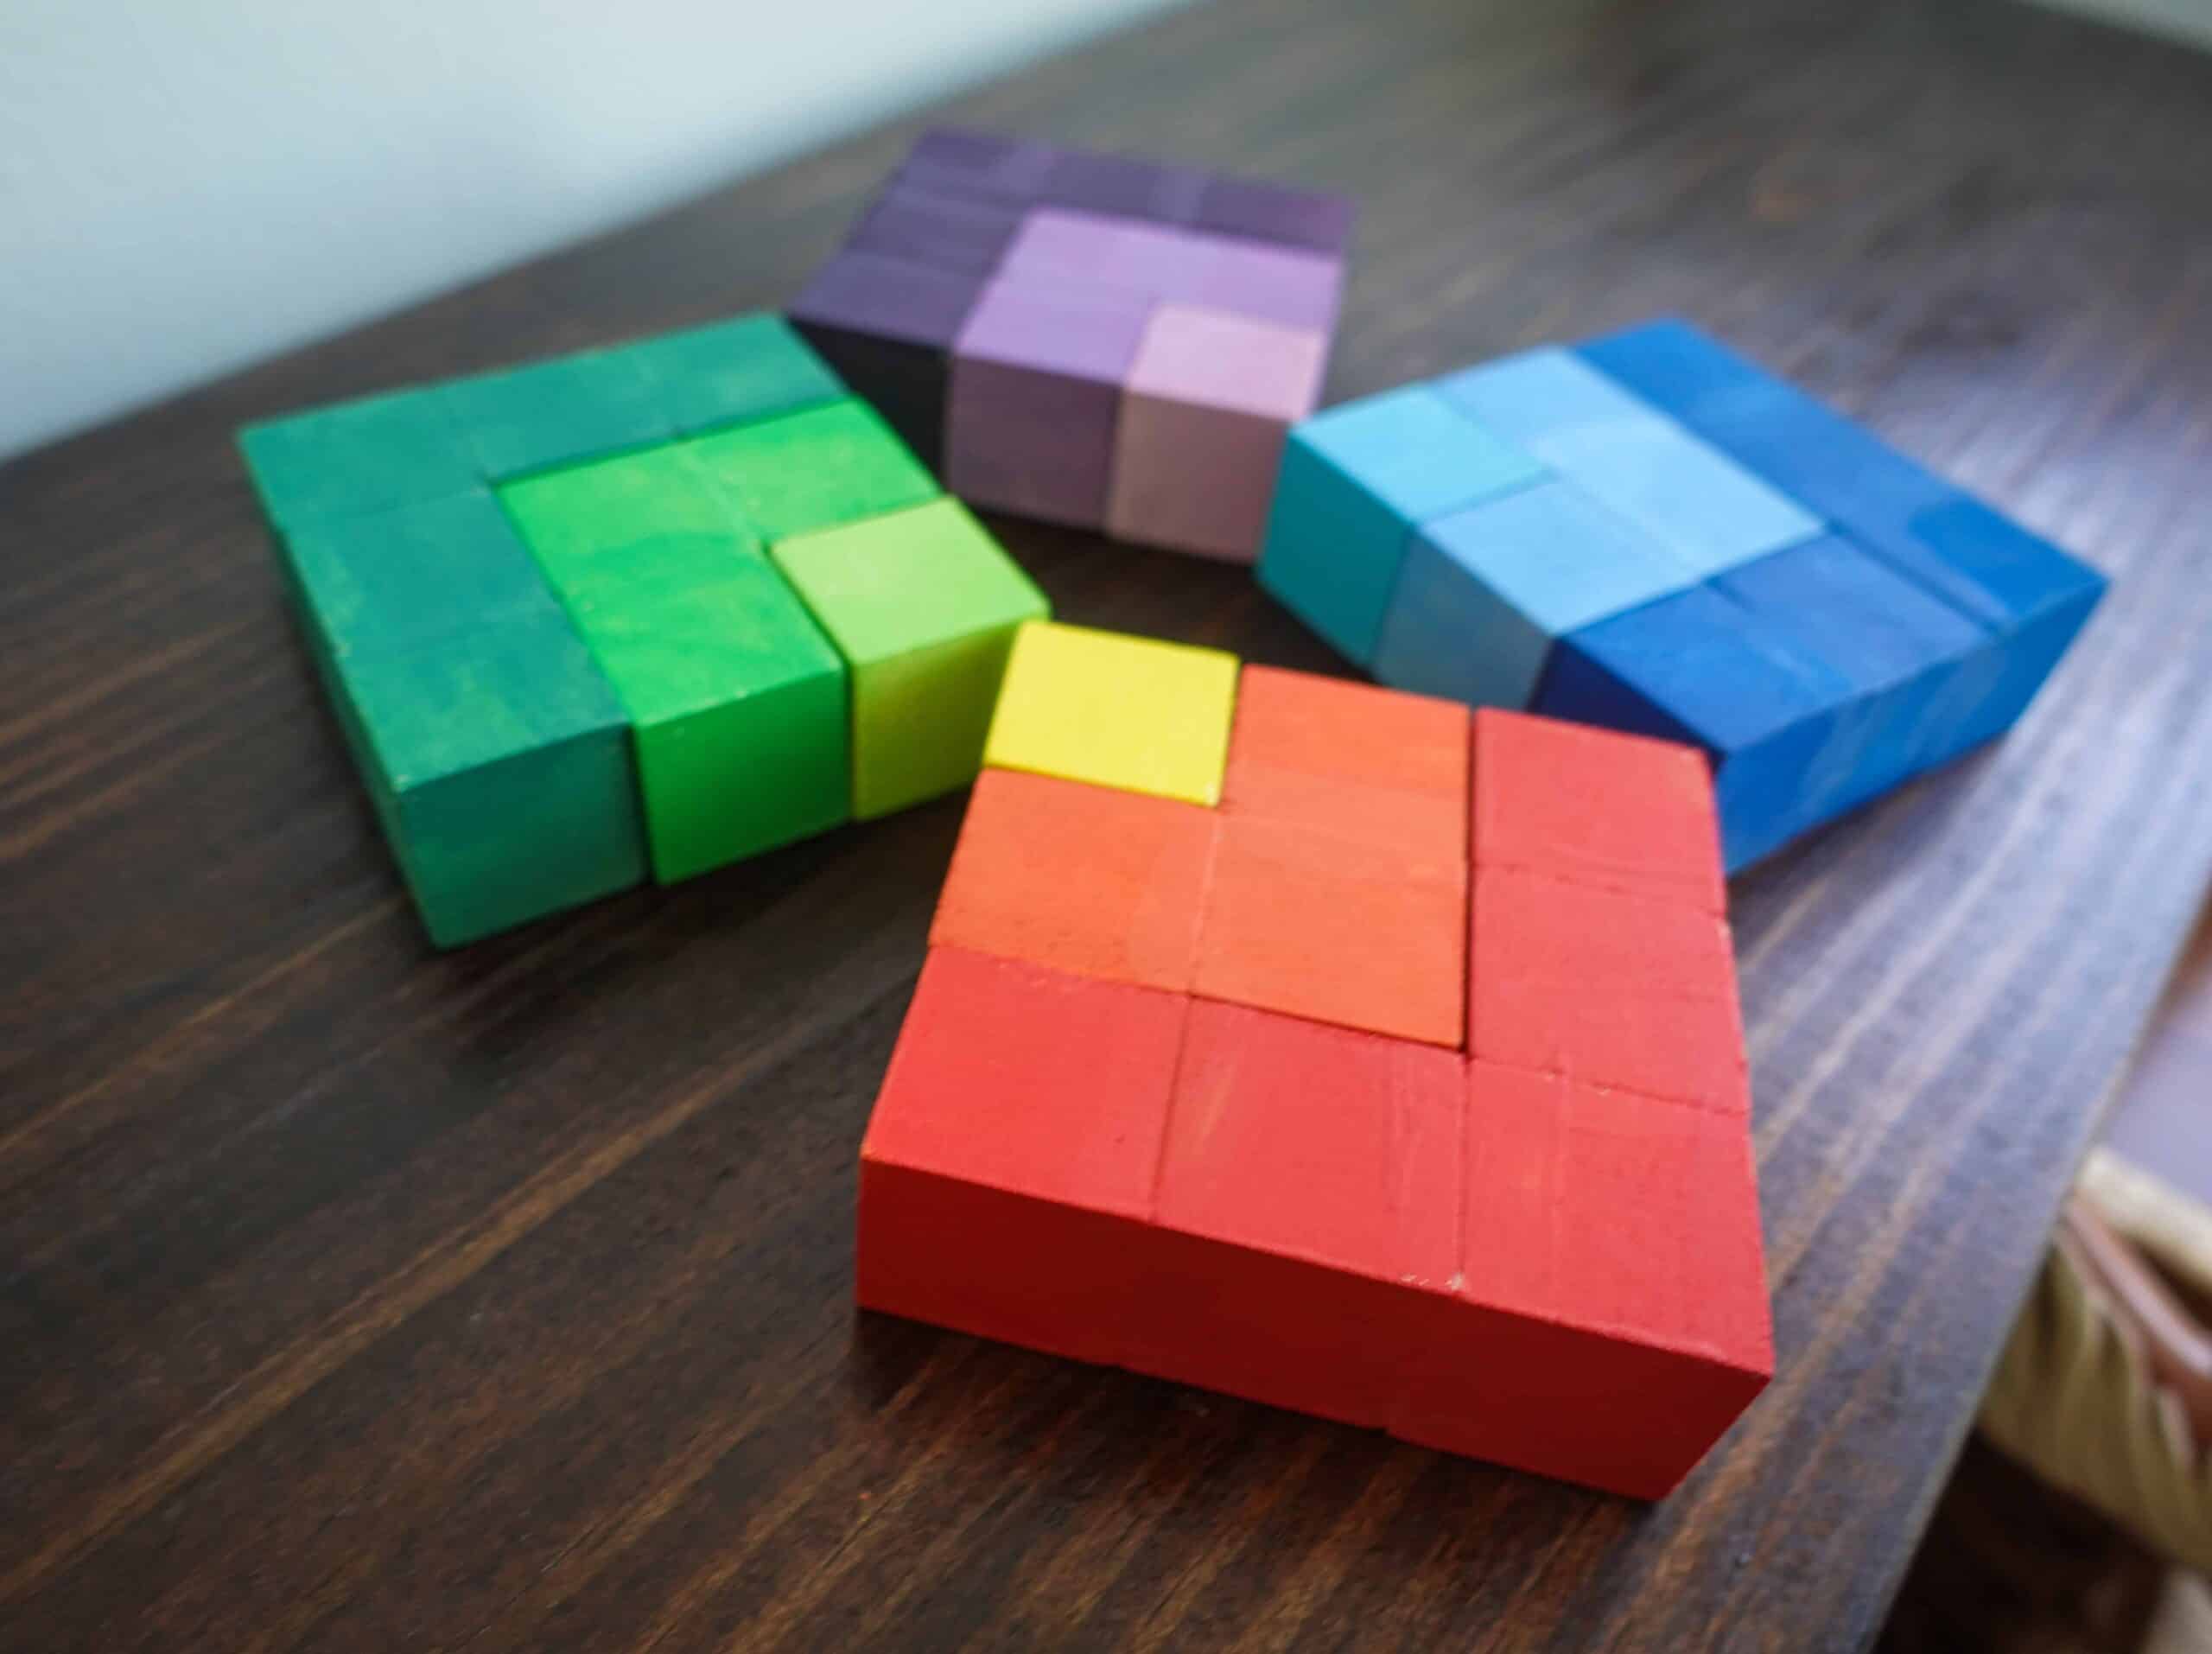
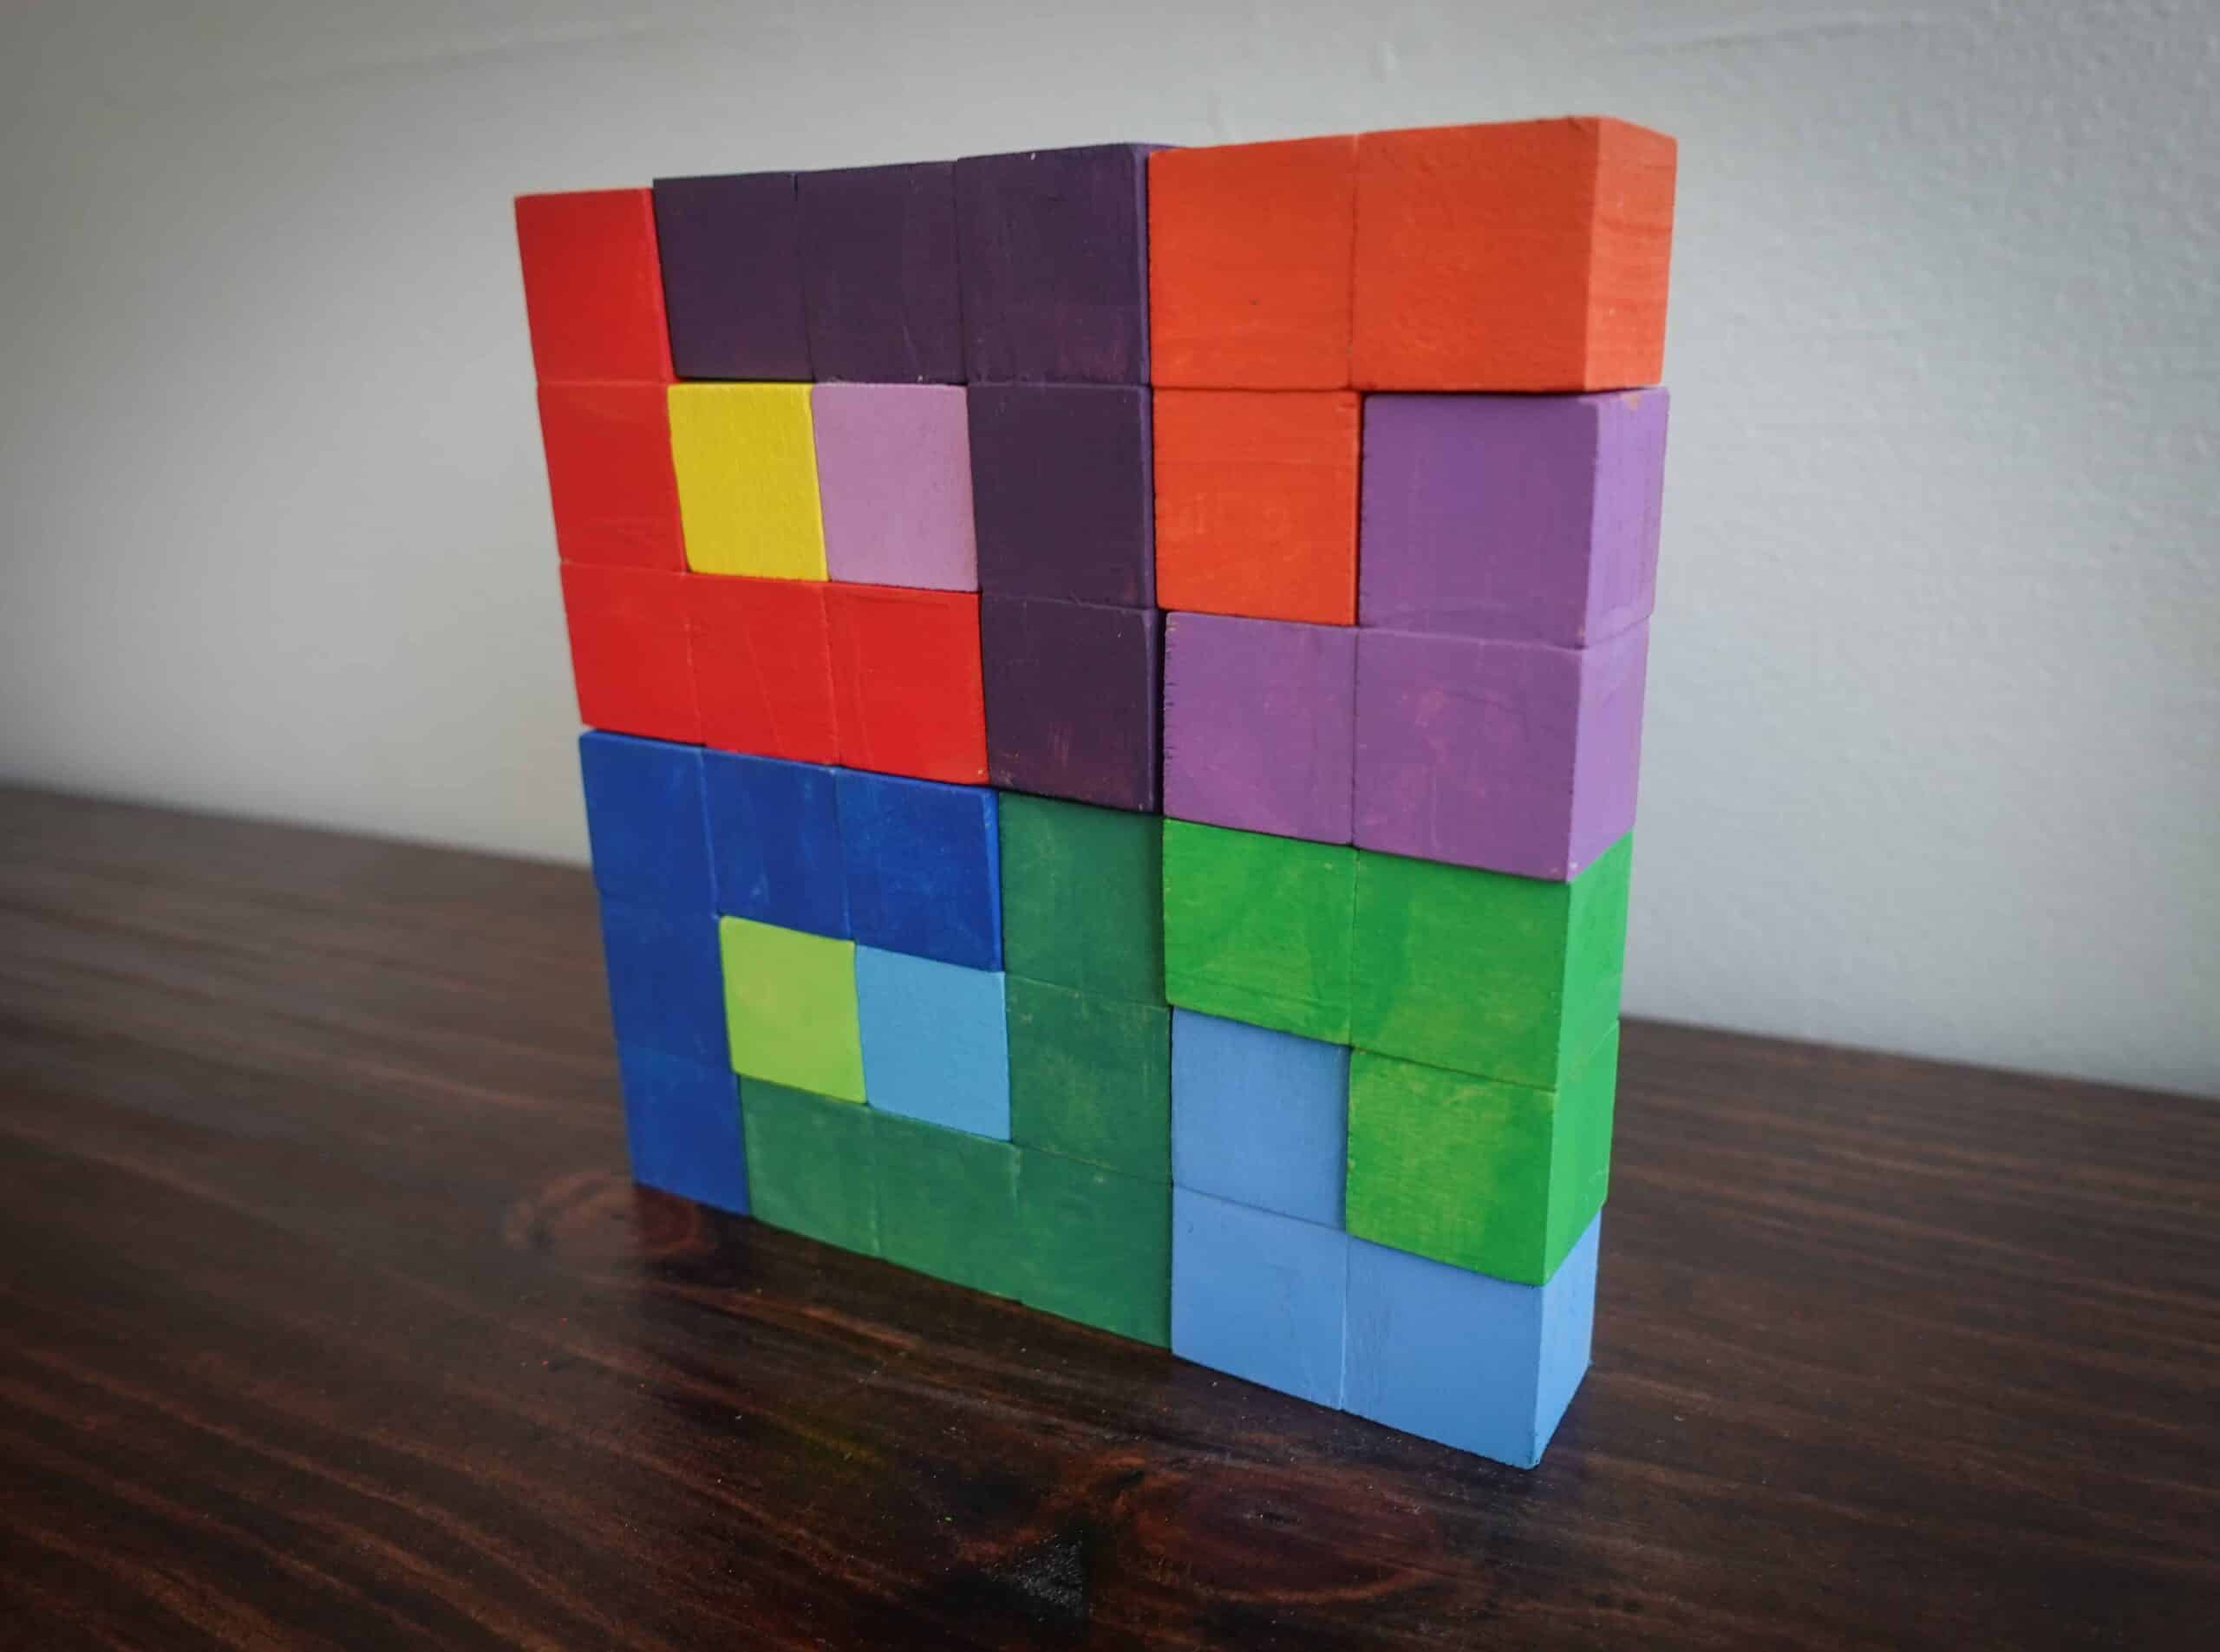
Did you know that Grimm’s even has a little booklet full of puzzle ideas for your children to do with this?! You could buy one or make your own by drawing different creations for your children to work on and build. I hope you enjoy this DIY as much as we do!

