


I love this Montessori activity where children take large push pins and slowly work around the outline of a shape to gently work it free and this linterna project is inspired by that! At age 3, my children are just now having the patience and focus to start working towards the Montessori pin poking work but they aren’t quite there yet. I love this project because you don’t need to be as precise and it was a super special way to spend some quiet time inside.
The set up is so easy, just take a paper bag, draw out a design and show your child how to use their push pin to press through to make tiny holes! They don’t need to be as precise as they normally would be with the pin poking work because the goal isn’t to remove a shape, the goal is to create little holes so that the light can shine through with their lantern! My children took to it immediately and loved working away on a special Valentine’s Day design.
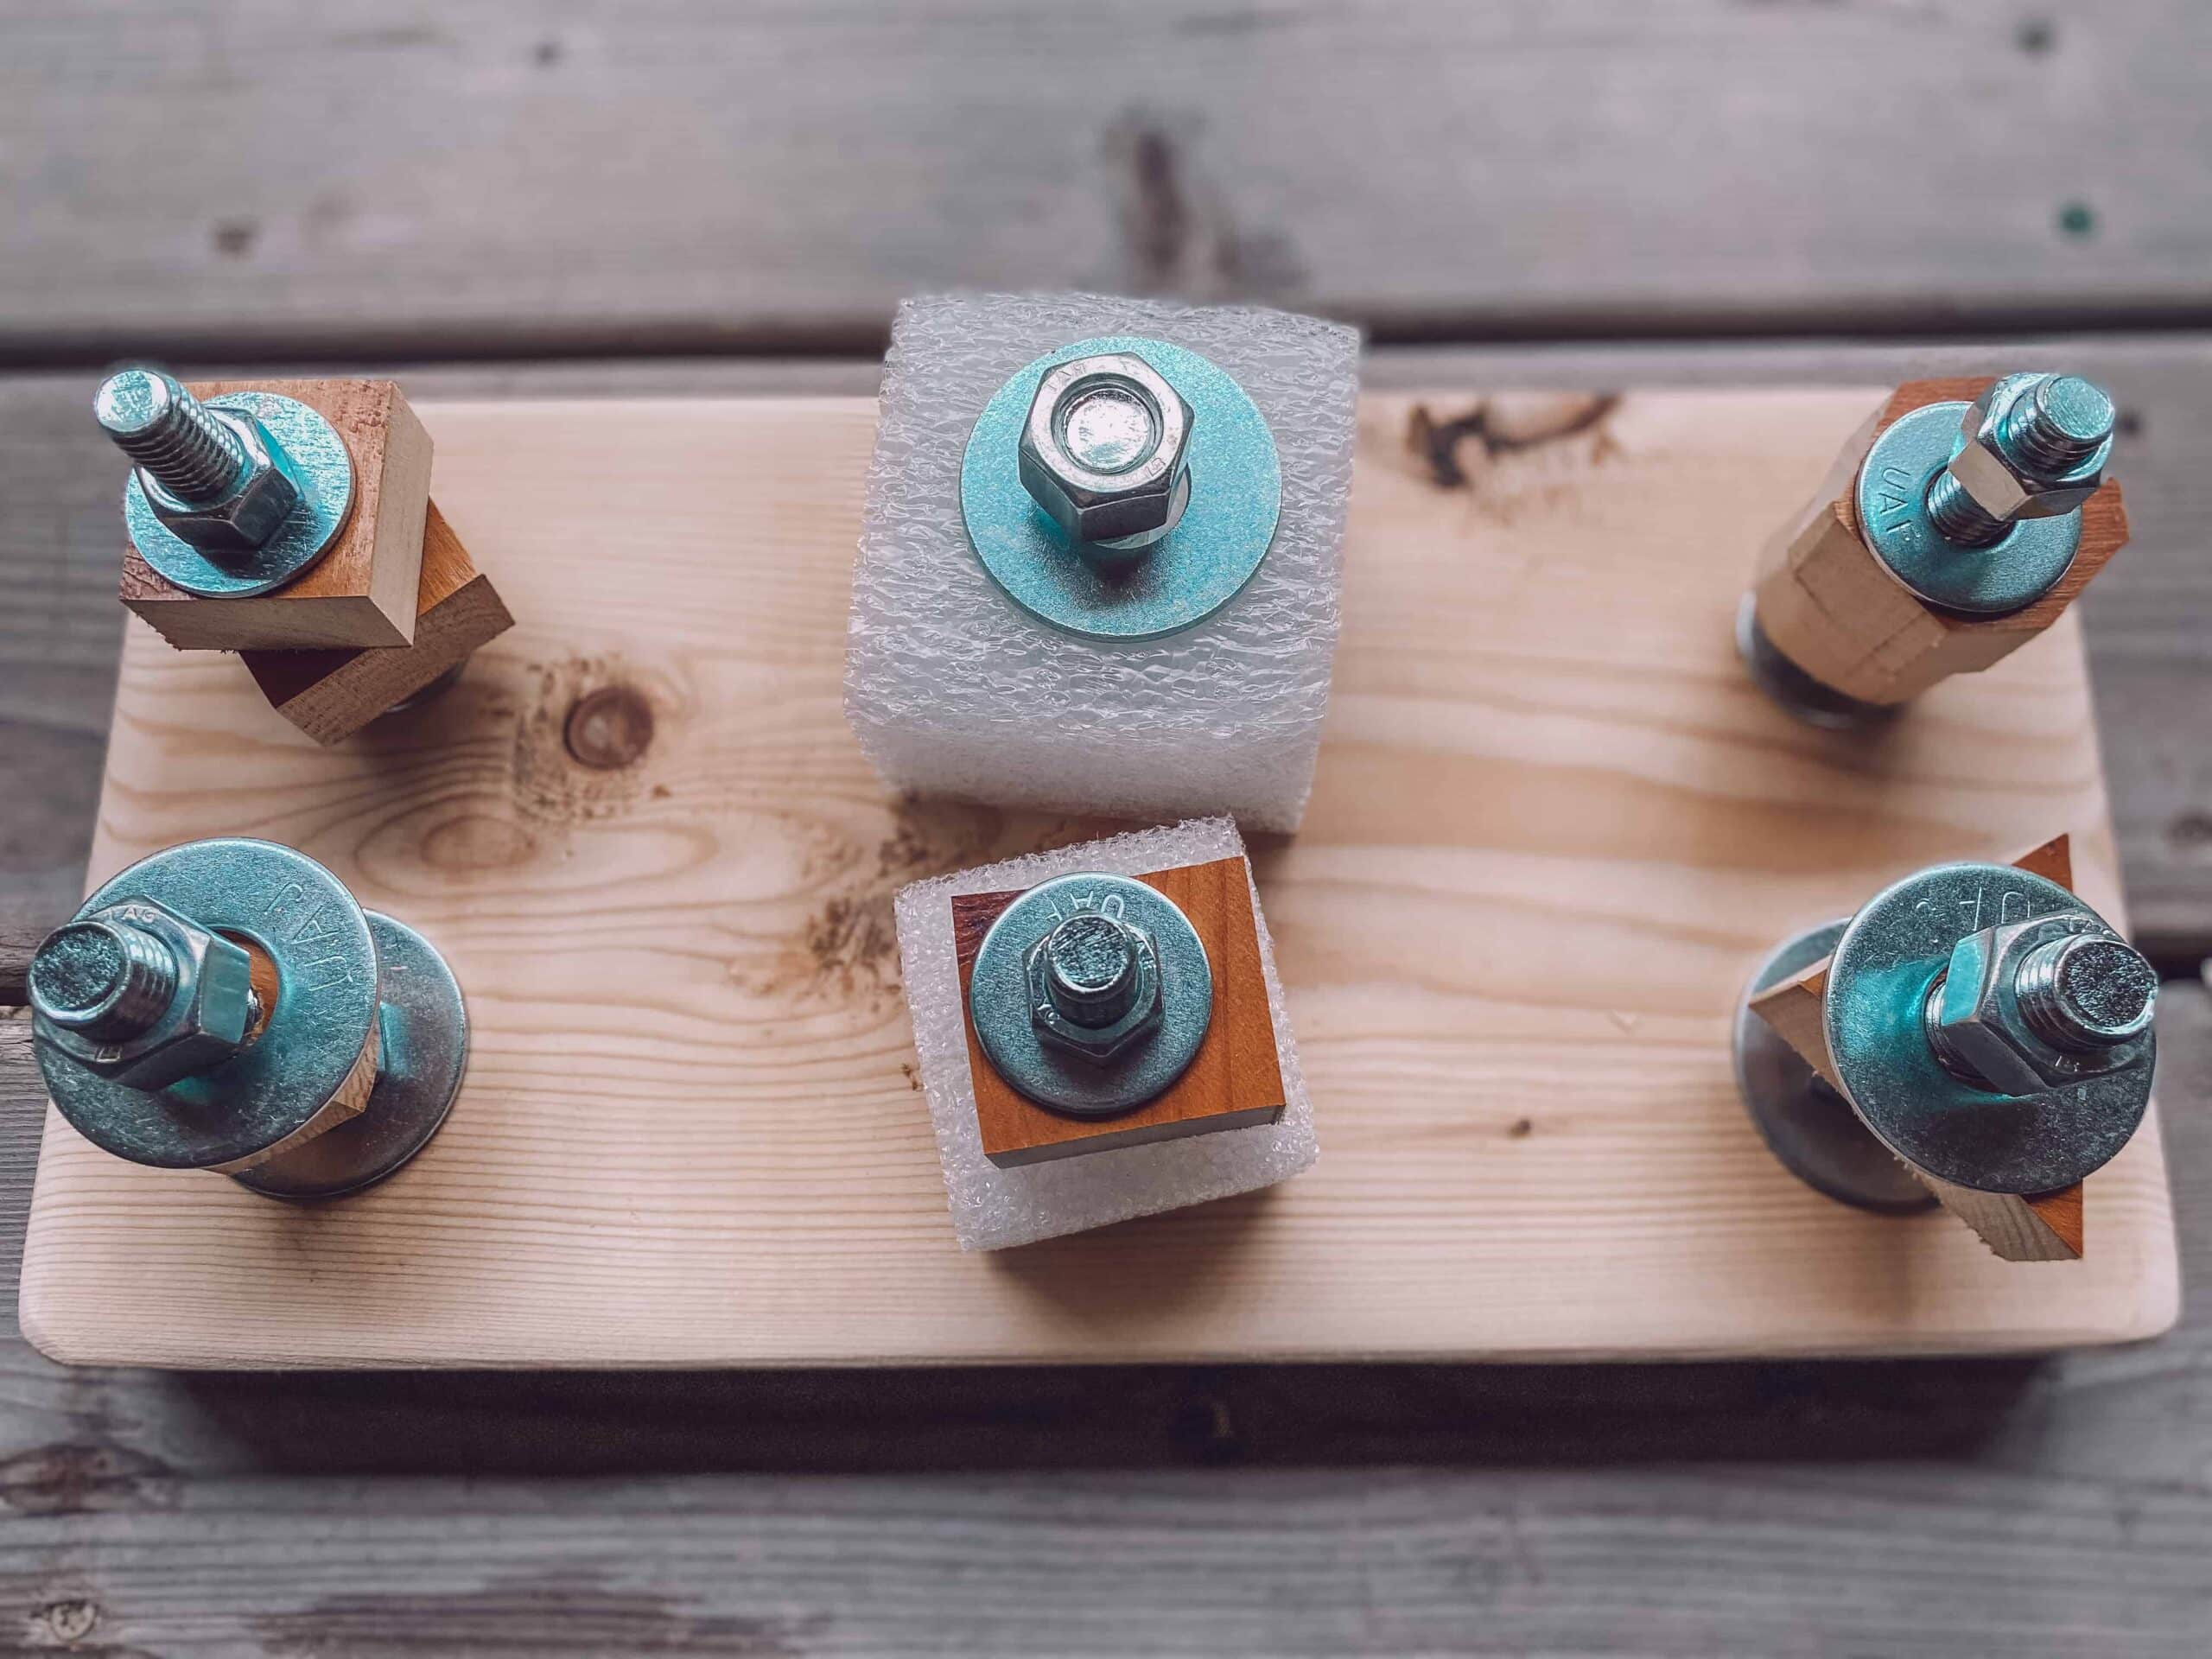
Underneath the bag you will need to put something soft, either a few layers of felt or a foam pad (I used my needle felting pad!) so that they won’t poke through to the table. These giant push pins were the perfect size and are a great way to strengthen hands and help gently teach a pencil grip. Fine motor skills AND a super cute craft?! Count me in.
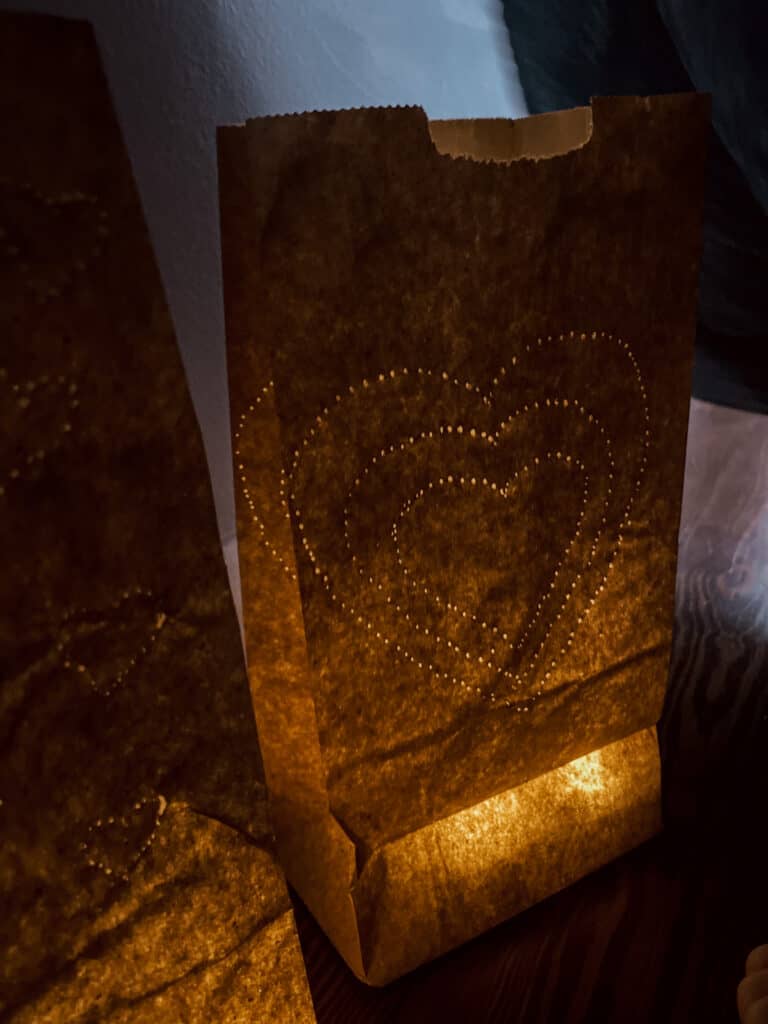
Then you just put a few LED tea lights into each bag and voila! A cute little linterna to celebrate any special day.
Spanish words we used:
Linterna (leen-tehr-nah) – lantern
Bolsa de Papel (bohl-sah deh pah-pehl) – paper bag
Empujar (ehm-poo-hahr) – to push
Chincheta (cheen-cheh-tah) – tack
Pinchazo (peen-chah-soh) – pin prick
Agujerito (ah-goo-heh-ree-toh) – tiny hole
Materials you may need:
Paper Bags
Push Pins
Needle Felt Mat
LED Tea lights
Amazon Affiliate links. You do not pay anything extra but Amazon will give me a teeny tiny commission from my referrals. I only recommend products that I have or will be buying myself!