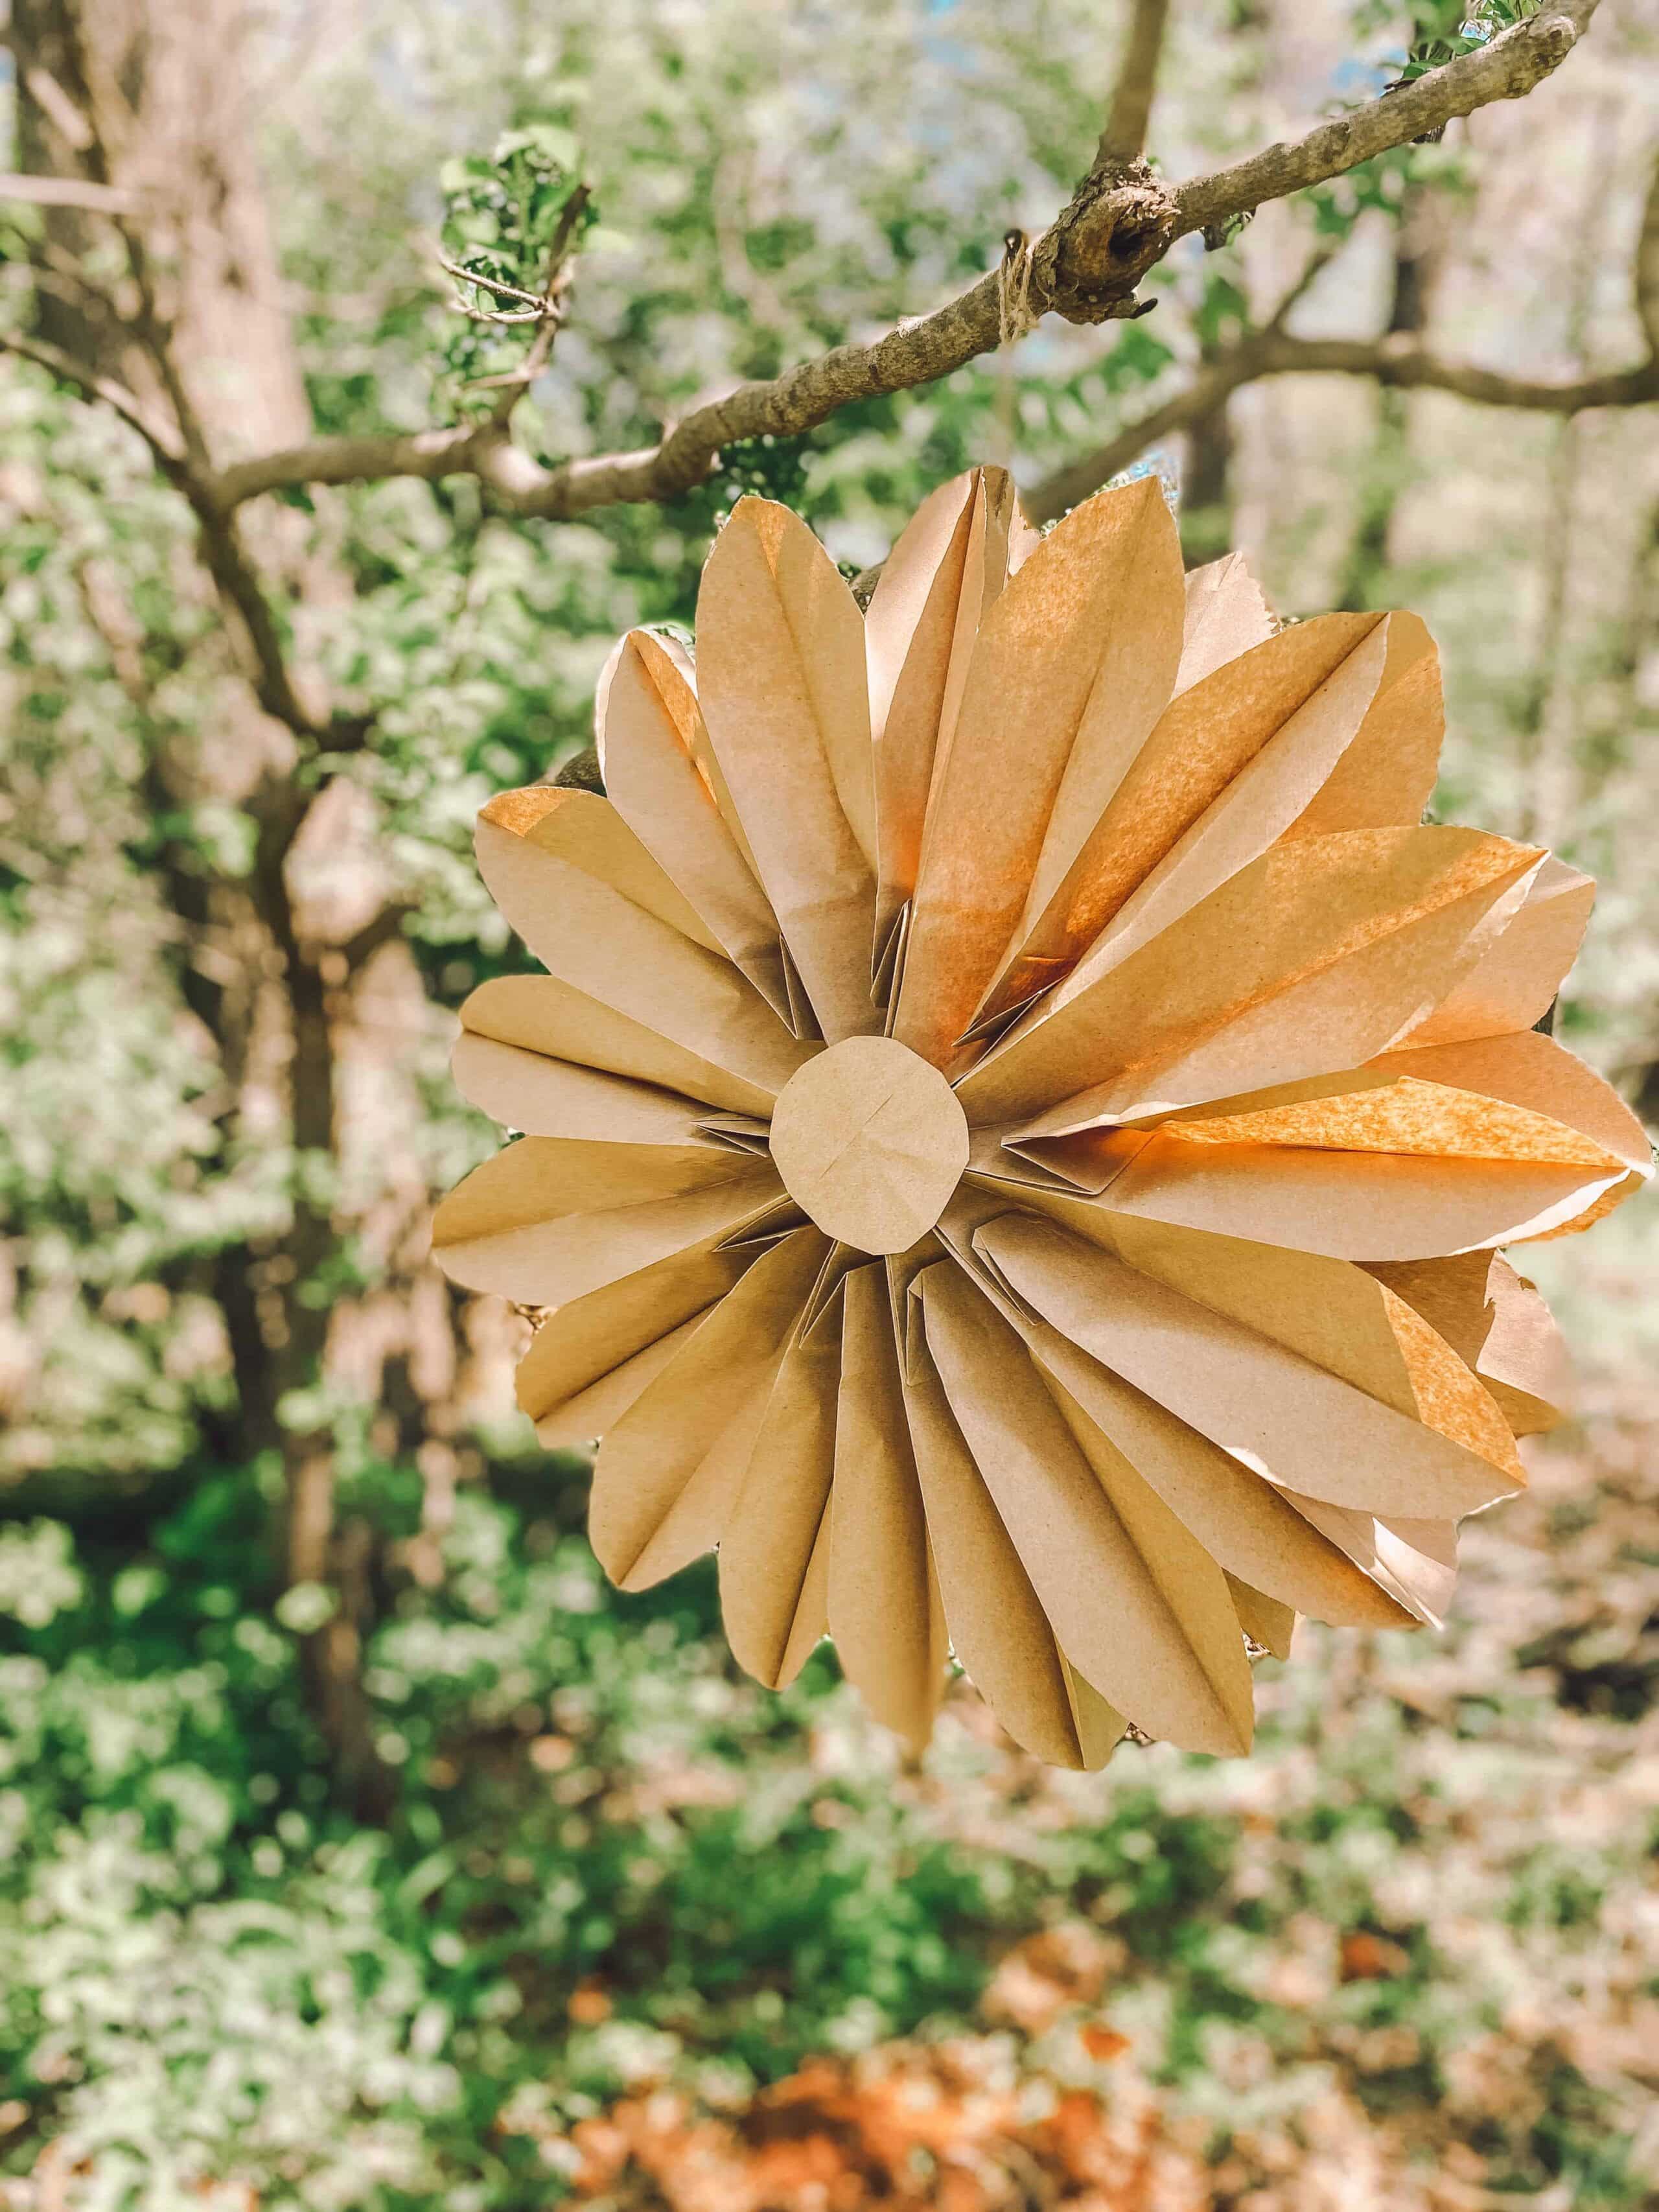

I always love making these paper bag flowers with kids! They are a spin off of the paper bag snowflakes that we make in the winter and whenever I swap these out, I know spring is here.
The process is super simple and your kids will love to help! Lay one bag down with the bottom rectangle of the bag facing up. Take your glue and apply along the bottom rectangle and then up the middle of the bag in a straight line.
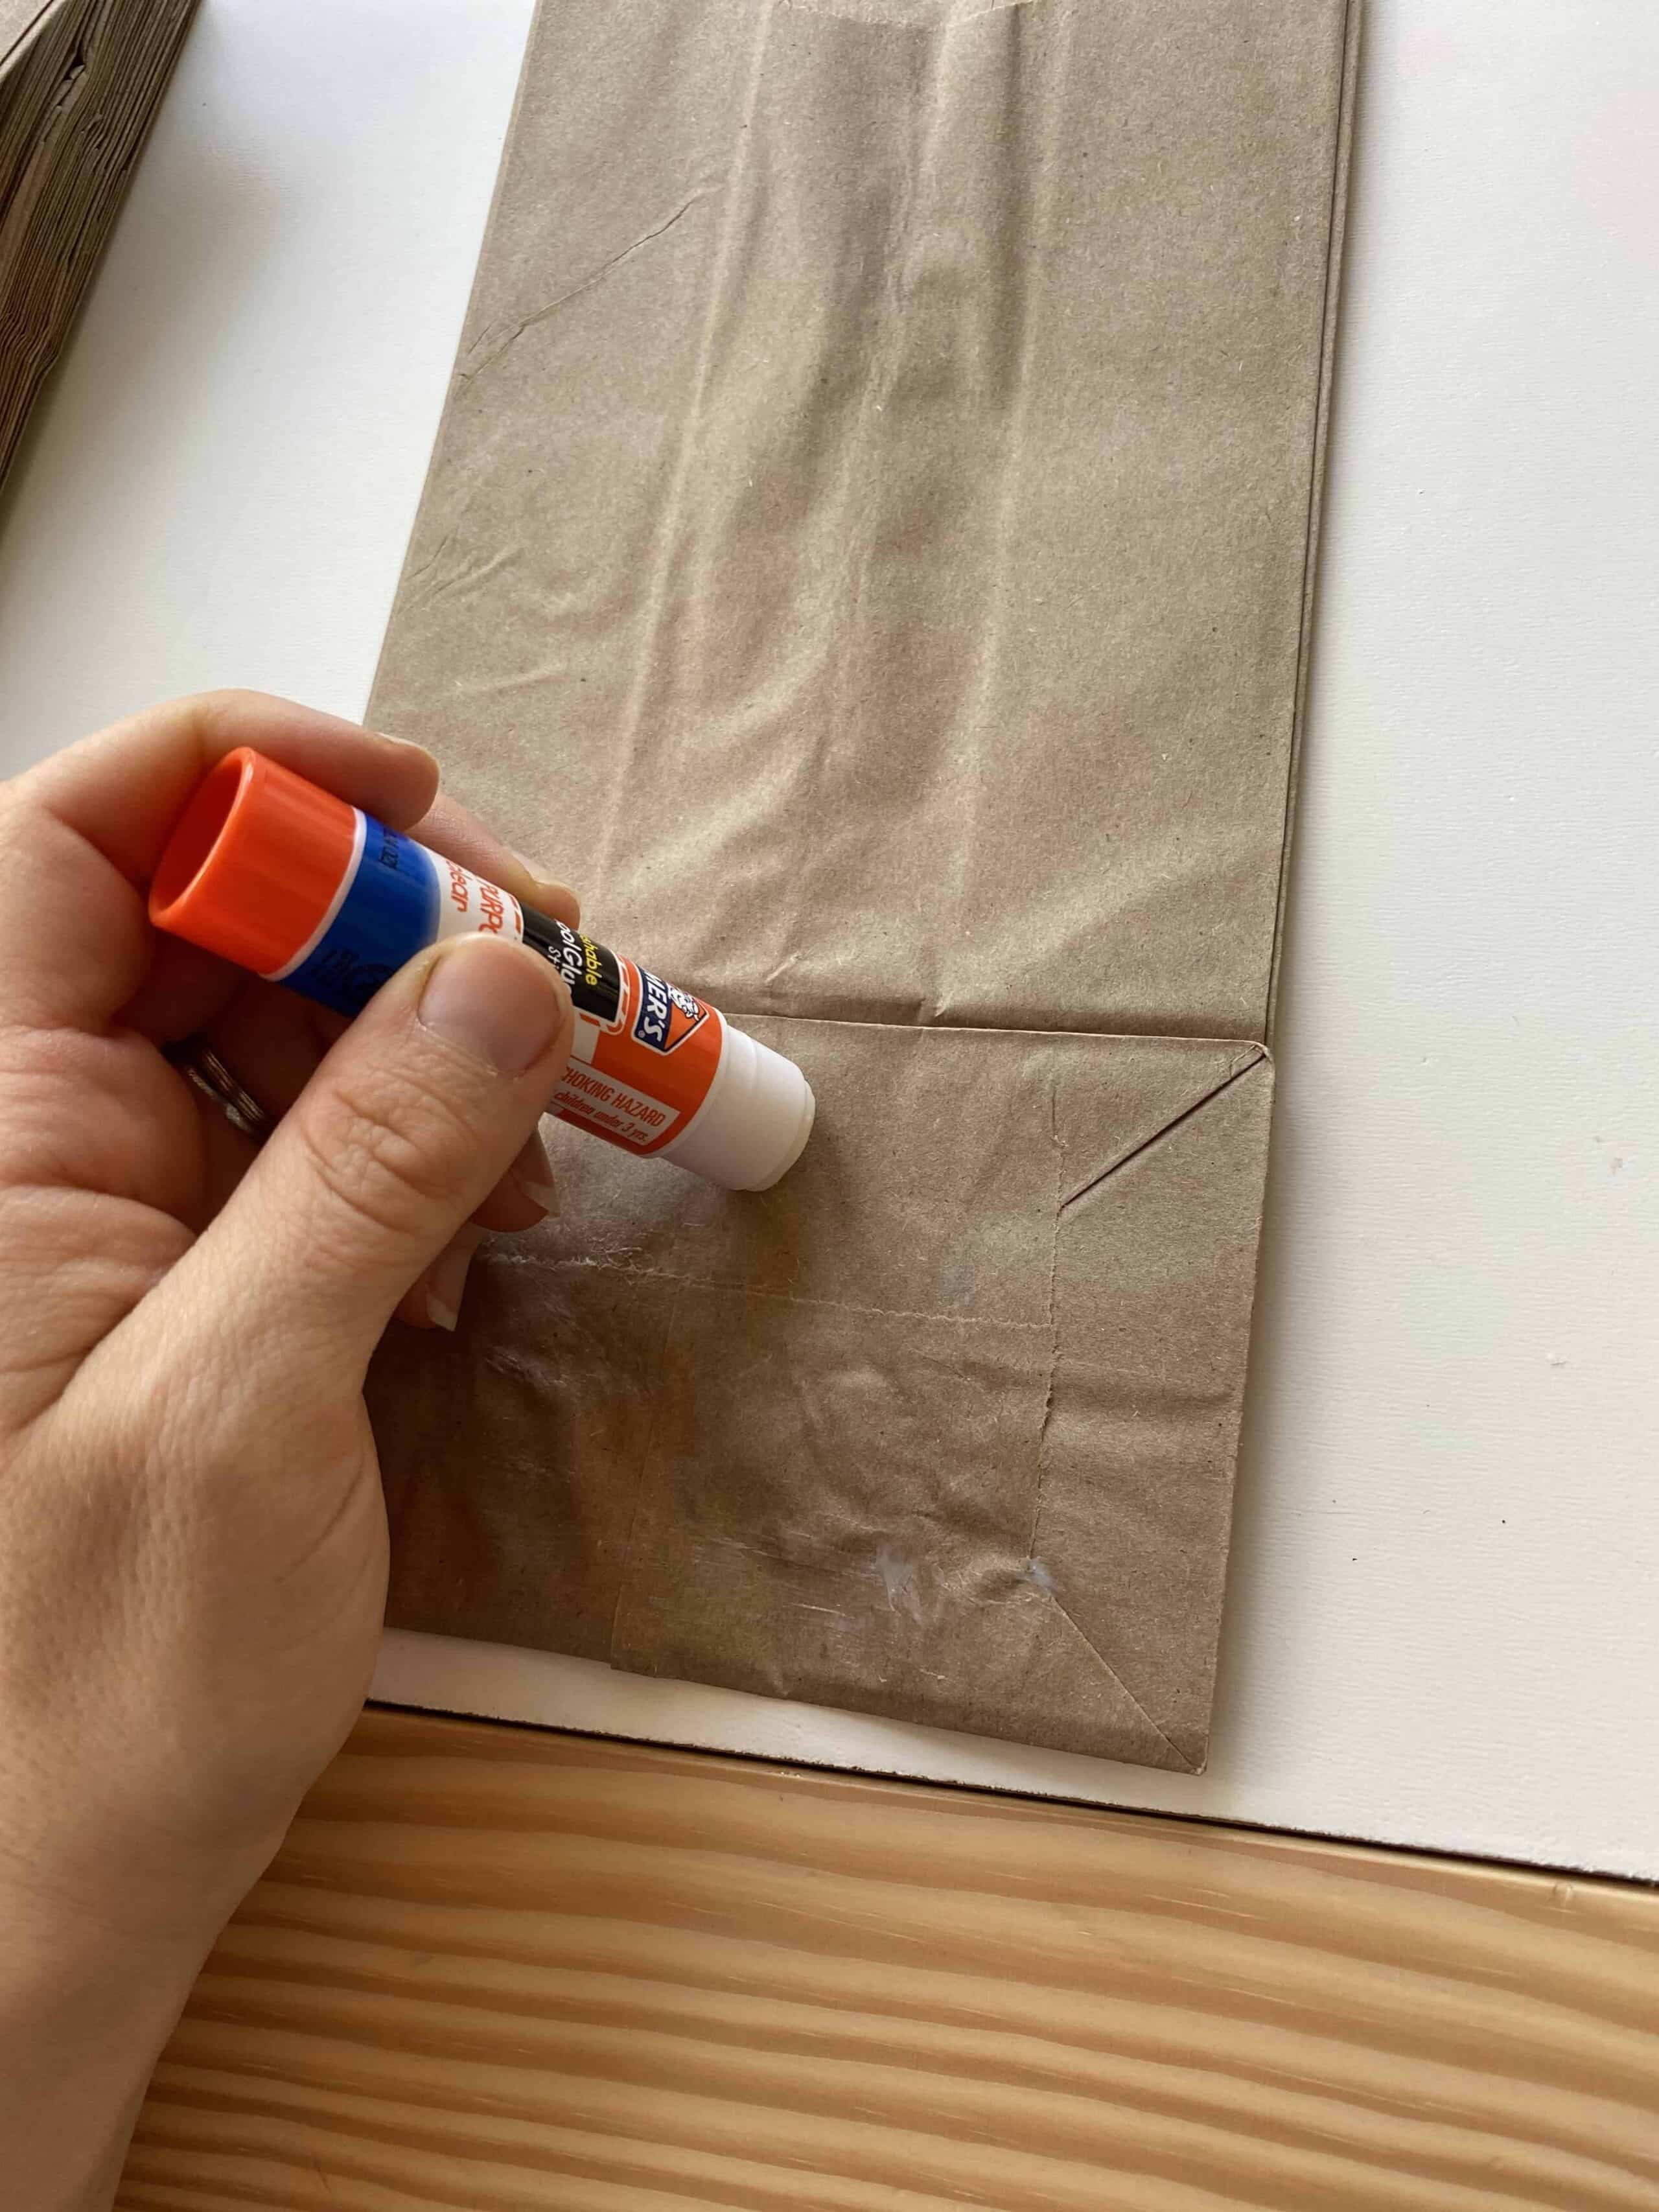
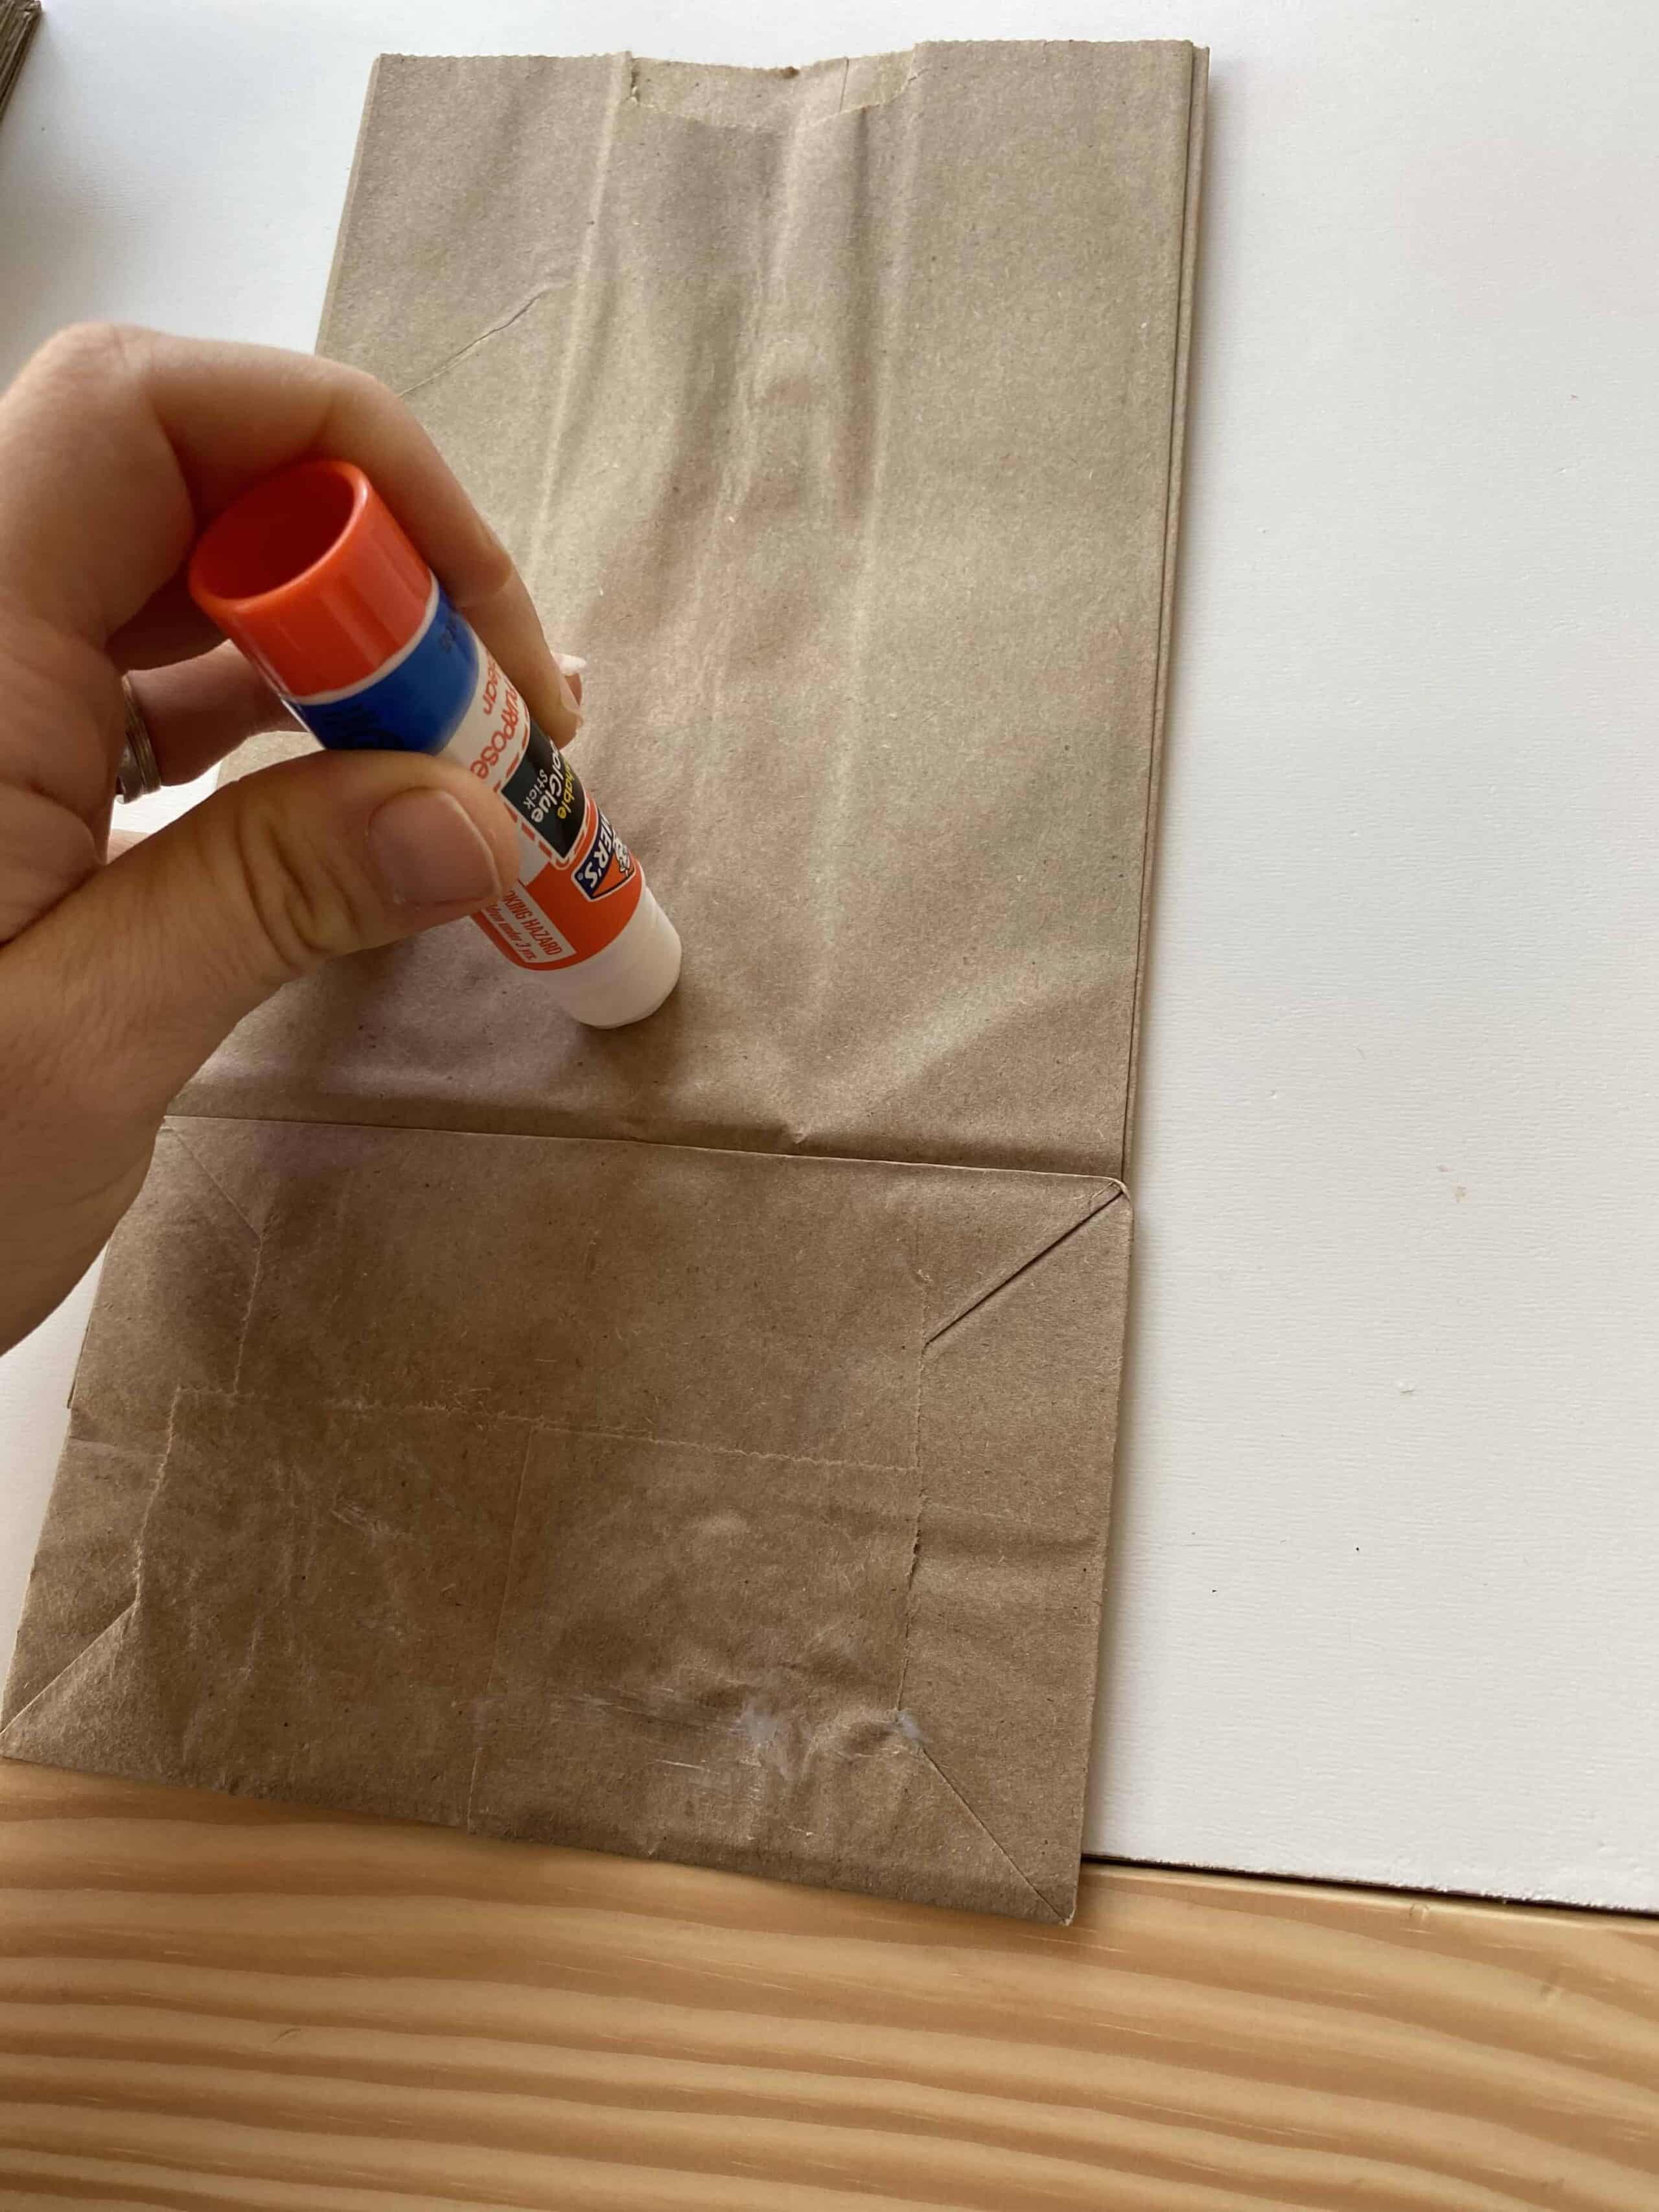
Then you place another paper bag (facing the same direction) right on top and press down! Repeat this process, adding more glue to the bag you just placed on top, 7-10 times. The more bags you add the more petals your flower will have. Once you have your stack complete, take your scissors and cut the top to a rounded edge. Then add glue once more to the bottom rectangle and middle line of the top bag, open your flower up and glue the two sides together.
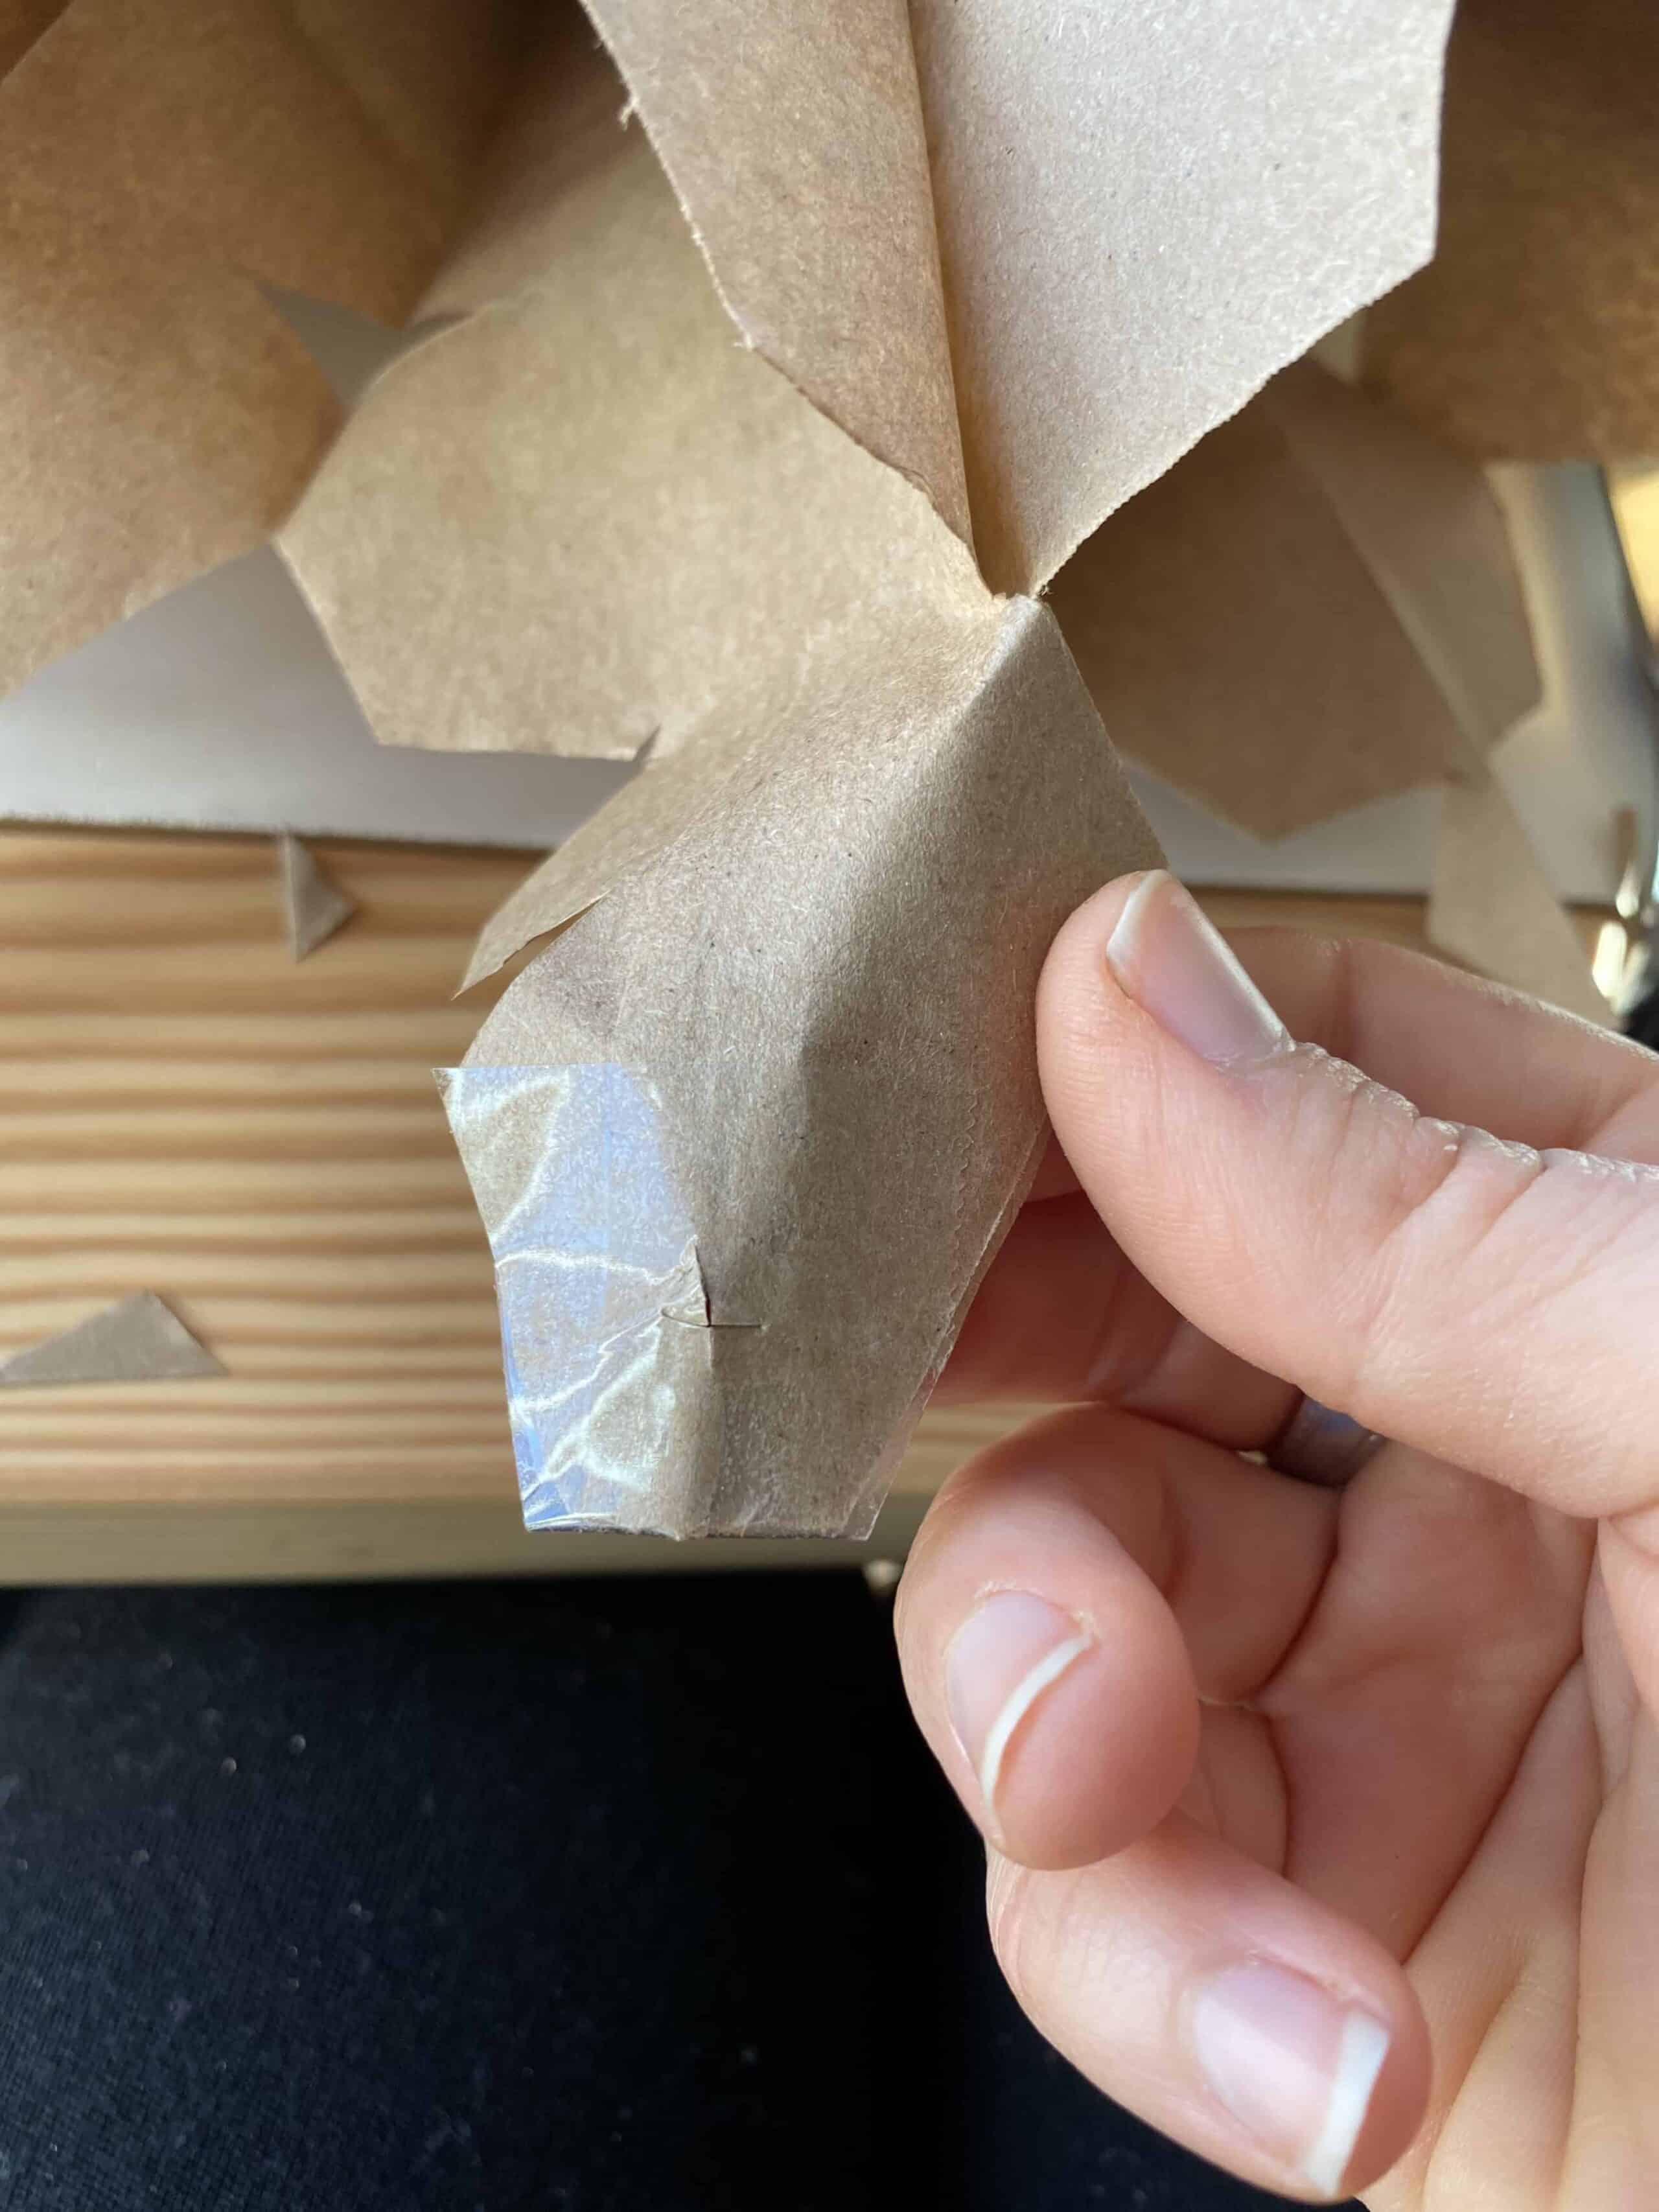
Hooray! Look at your beautiful flower! Now cut a circle out of paper and glue it into the middle to complete the flower look. When getting it ready to hang, I always use a small strip of clear tape before I cut a hole for hanging. This helps reinforce it so it won’t rip as easily.

