In this post: Learn how to make easy and beautiful beeswax mushroom cap candles. Post contains affiliate links for your convenience.
The inspiration for these candles comes from wonderful ideas by two incredible people: the mushroom candle by @gunnaydri and using spices to dye beeswax by @cheritabita. Put these two ideas together and you get these super fun and naturally dyed mushroom candles to make with your family!
This week is the beginning of Spanish in the Wild mushroom study and we are diving headfirst. We begin learning all about the anatomy of a mushroom before we begin identifying them. These mushroom candles were the perfect craft to practice some main Spanish vocabulary for talking about hongos and they were fun to make.
Here’s What You Need:
- Beeswax
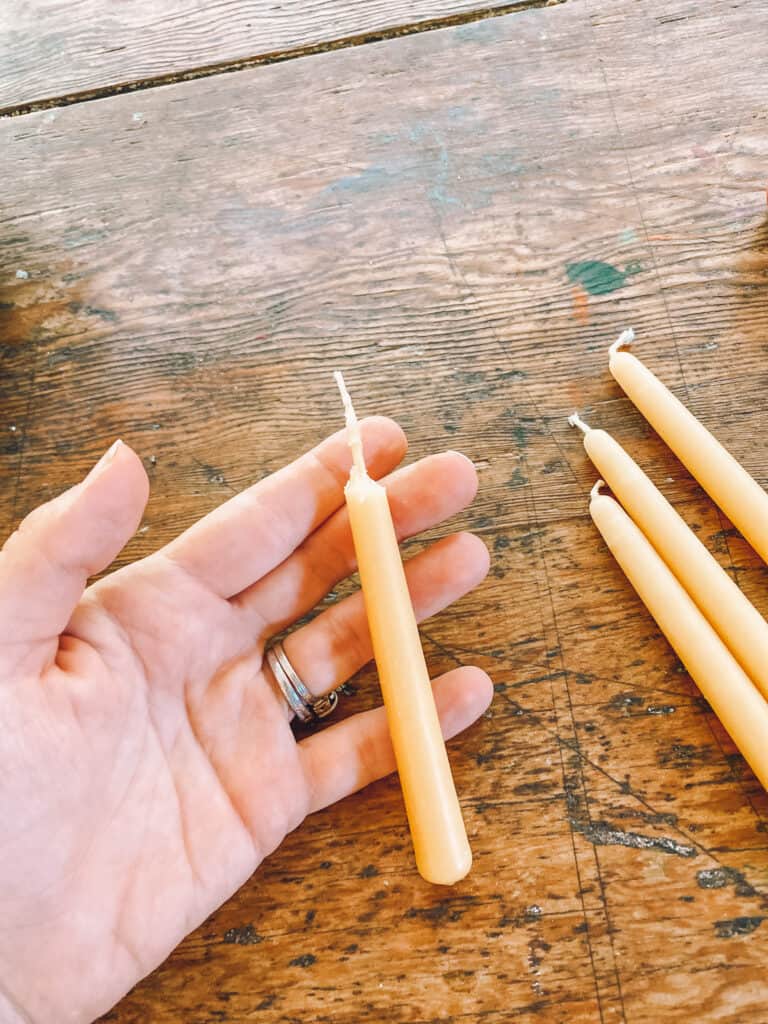
- Small Beeswax Candle
- Spice For Dying
- Sauce pan for melting wax (I got a used one at a thrift store and use that as my wax pan – you can also use an empty milk carton with the top cut off)
- Larger sauce pan for hot water to create a double boiler to melt the wax
- Shallow wide container with sand
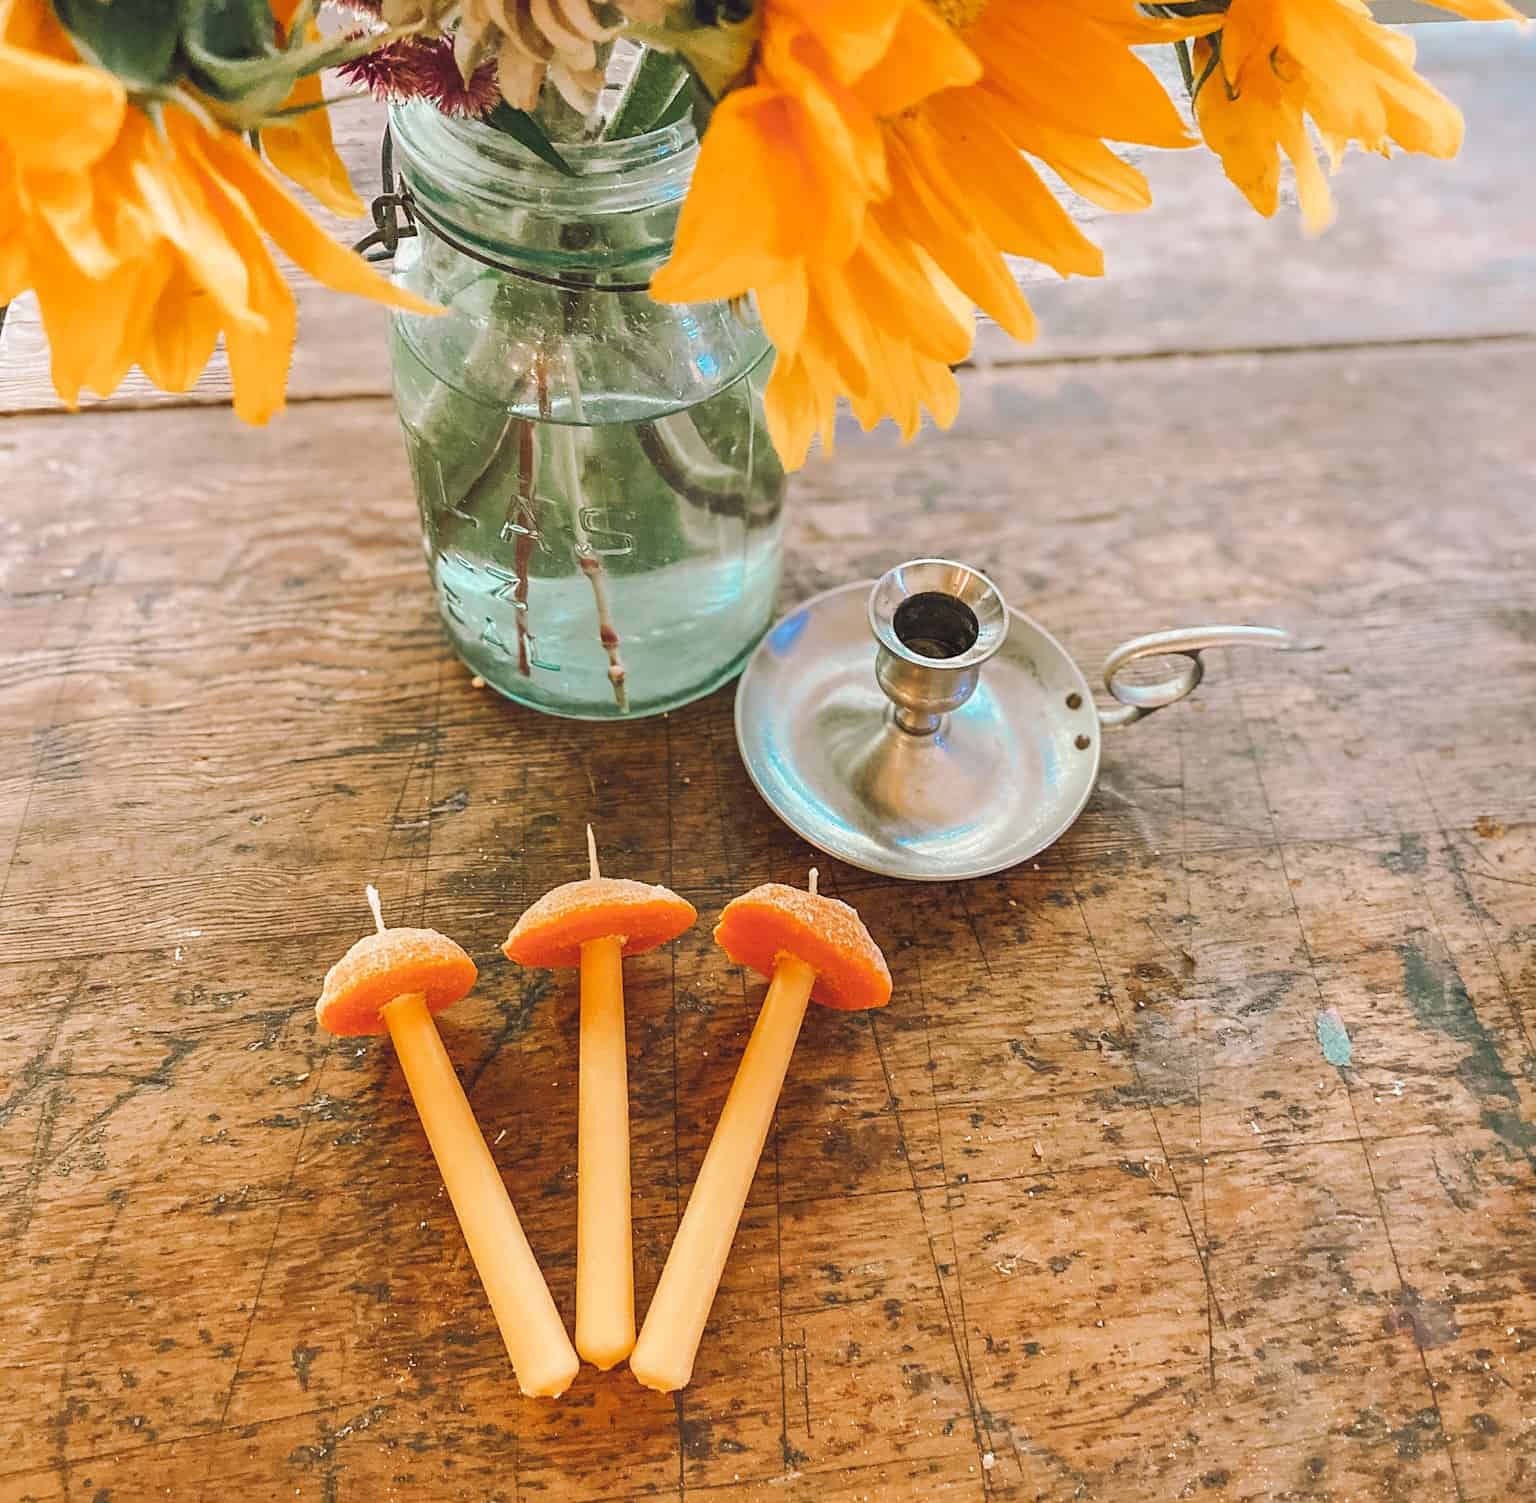
- Shapes for creating mushroom caps. We used an egg, an acorn, and a rock! You can use anything you have on hand.
How To Make Mushroom Candles:
1. Begin by getting your wax melting in a double boiler. Add an inch or two of water into a saucepan. Bring to a boil and have your wax in another container melting on top. The steam from the hot water will melt it slowly and safely.
2. As your wax melts, place your sand in your shallow container and create your mushroom cap shapes. This can take some trial and error, and it will all depend on the size and shape of your candles! Make different shapes and enjoy the experiment of seeing what works best.
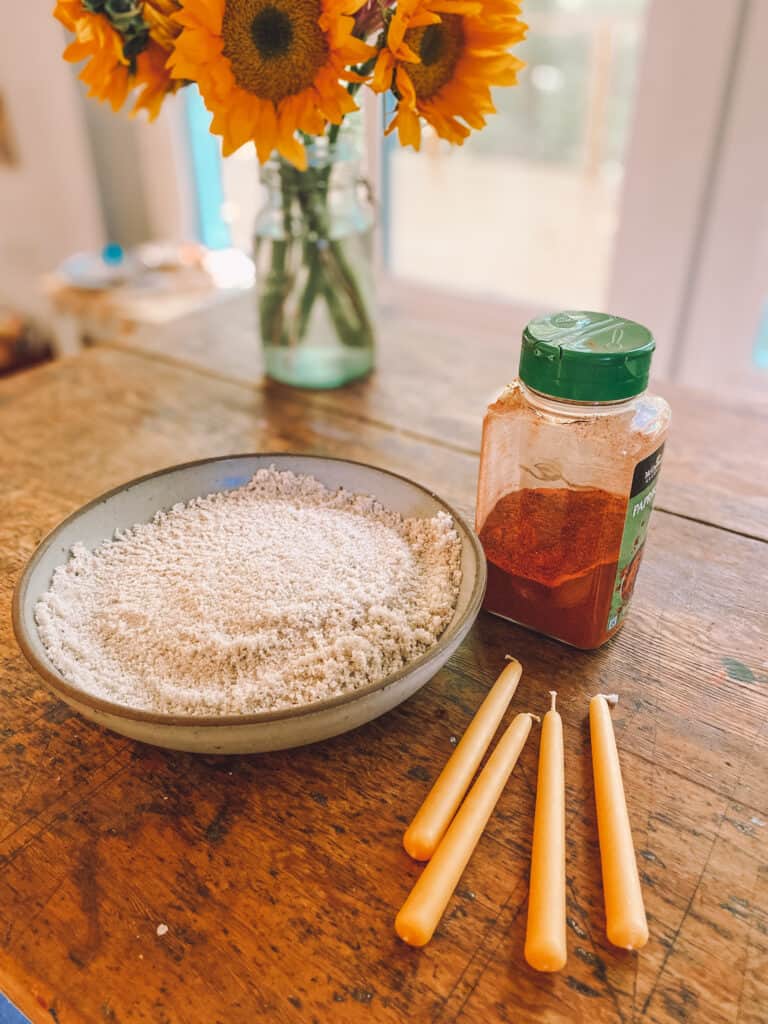
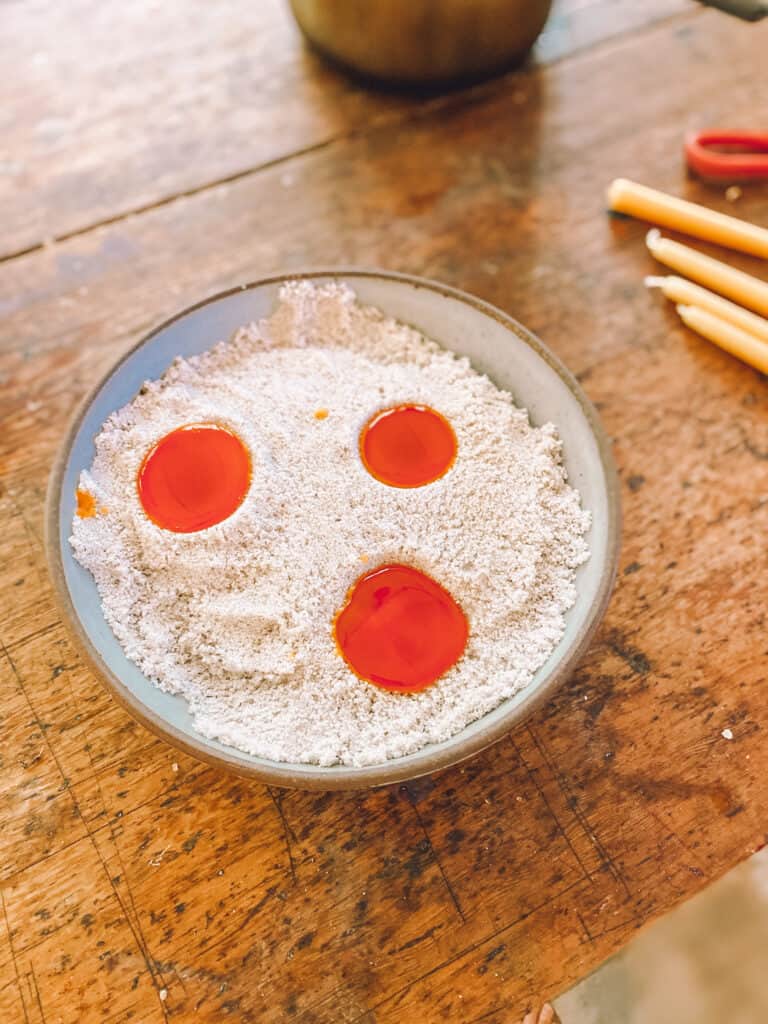
3. Once your wax is melted, add a few tablespoons of your spice of choice. We used 2 tablespoons of Paprika to create this orangy color but you can use turmeric, chili powder, spirulina, beet powder…so many options to dye your wax naturally!
4. When you have the color of wax that you are looking for, show your children how to carefully spoon small amounts of wax into the depression they made in the sand. This can be trial and error with young children, but they will surprise you. Using a spoon is slow going but worth it for the awesome coordination it brings. You can also slowly pour it if that is easier.
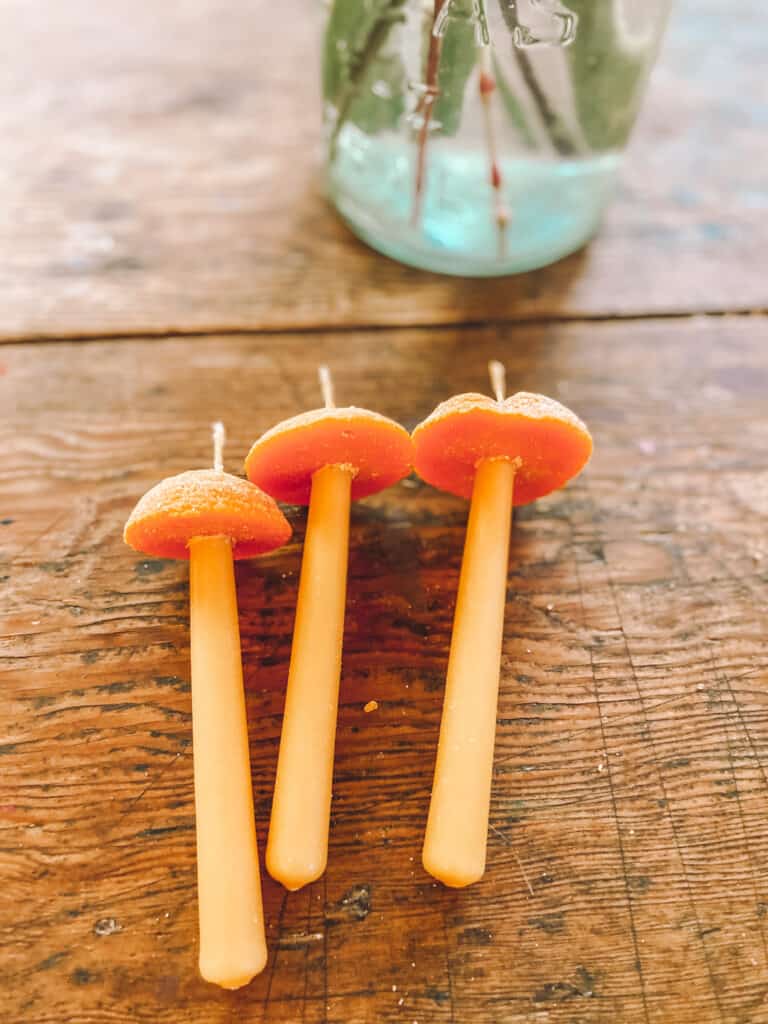
5. Set aside to let the mushroom caps dry fully and begin working on preparing your small candles. Carve or peel away the top ¾” of wax to leave a long section of the wick. Once your caps are fully dry, take them out of the sand and spend a little bit of time scraping the sand off and smoothing it as best as you can. I love the color that comes from rubbing the sand off, it adds such wonderful texture!
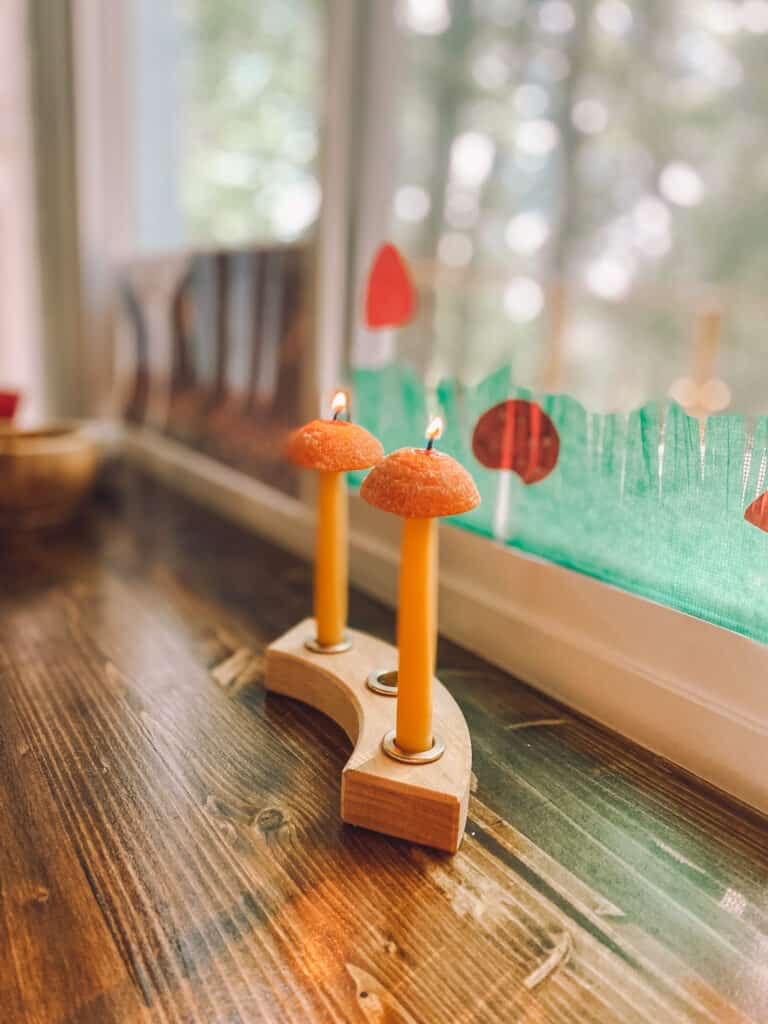
5. Once your caps are sand-free, use a small, strong object like a needle or a paper clip to start making a hole in the middle of the cap that goes all the way through. Wiggle it around to make a hole big enough for the wick to fit through. Then thread your wick and melt the candle just slightly so that it will stick to the cap. ¡Voila! Enjoy your mushroom cap candles as you practice your Spanish.
Want even more mushroom learning at home? Check out Spanish in the Wild – a seasonal bilingual nature study course and curriculum for families and their kiddos ages 5+.